Please be very aware that this information is neither intended nor implied to be a substitute for professional medical advice. Always seek the advice of your doctor or other qualified health professional before starting any new treatment or with any questions you may have regarding a medical condition.
When it comes to protecting one of the most commonly injured areas in sport—the ankle—sports tape is a trusted solution. Whether you’re looking to prevent ankle injuries or support recovery from a sprain, knowing how to sports tape an ankle correctly is essential.
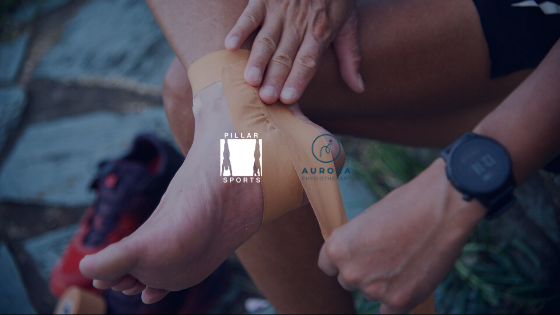
This guide, developed in collaboration with Aurora Physiotherapy, breaks down a proven method of ankle strapping using rigid sports tape. From pre-taping preparation to the final checks, we’ll walk you through everything you need to know.
Using sports tape on the ankle can serve two purposes: prevention and protection. For many athletes, ankle taping is part of their regular pre-game or pre-training routine—especially in high-impact sports like rugby, basketball, and football.
Effective taping helps:
In the competitive sports world, staying on the field matters. And prevention, as they say, is always better than cure.
For ankle strapping, rigid sports tape for ankle support is most commonly used due to its strength and limited stretch. At Pillar Sports, we recommend a 38mm rigid tape for most applications. A 50mm option is available for those who prefer more coverage, depending on foot size or taping preference.
You may also consider using:
This method is designed to provide support for the ankle joint, especially for injury prevention and mild sprain protection. Minimal changes have been made to preserve clinical accuracy.
Ensure the skin is clean and dry. Place the ankle in a dorsiflexed (toes pulled back) position. Apply 2-3 anchors over the calf muscle (~1/3 of the lower leg) with them overlapping half of the previous strip.
Apply stirrups starting from the inside of the ankle and around the bottom of the foot, then finish at the outside of the ankle. Repeat 3 times and overlap them halfway. Ensure even tension when applying the tapes. These tapes should cover both the lateral (outside) and medial (inside) malleolus (bumps on each side of the ankle). Avoid tape over to the base of the 5th metatarsal.
Apply figure of 6 beginning from the inside of the ankle, then under the heel and return to the front of the ankle. Repeat another strip but begin from the outside of the ankle.
Apply 2 heel locks to lock up the ankle and prevent unwanted movements. Start tape at the front of the ankle at around 45 degrees angle, Bring tape to the back of the heel, then under the foot, and finish at the front of the ankle. Repeat on both sides of the ankle. Apply strips around the ankle to close up the tapes.
After taping, do a circulation check:
Yes. While not a substitute for proper medical treatment, sports tape for a sprained ankle can help manage pain, limit re-injury, and allow for light activity during recovery. Always consult a physiotherapist if the injury is moderate or severe.
Using sports tape ankle support gives structure without fully immobilizing the joint—allowing for controlled, safe movement as you recover.
Use ankle strapping:
Remember, tape is not a cure, but a supportive tool. Combined with proper rehab and strengthening, it plays a key role in performance longevity. You can explore other sports taping methods for different joints or injuries.
Ankle injuries don’t have to slow you down. With the right technique and reliable sports tape, you can play smart, stay active, and reduce your risk. Bookmark this guide, practice the steps, and share with your team.
Want more taping guides? Sign up for our newsletter and get updates on future blog posts and athlete resources.
Built for Performance. Yours for Less.
Get early access to new drops, product launches, and performance-tested gear.
10% Off on Your Order.
No spam. Unsubscribe anytime.
This site is protected by reCAPTCHA and the Google Privacy Policy and Terms of Service apply.
Get early access to new drops, product launches, and performance-tested gear.
10% Off on Your Order.
No spam. Unsubscribe anytime.