Automatically claim your 4 Free Turf Tape Strips & 1 can of Perskindol Cool Spray if you spend HK$800 on Cart!
Please be very aware that this information is neither intended nor implied to be a substitute for professional medical advice. Always seek the advice of your doctor or other qualified health professional before starting any new treatment or with any questions you may have regarding a medical condition.
Last updated on: March 10, 2026
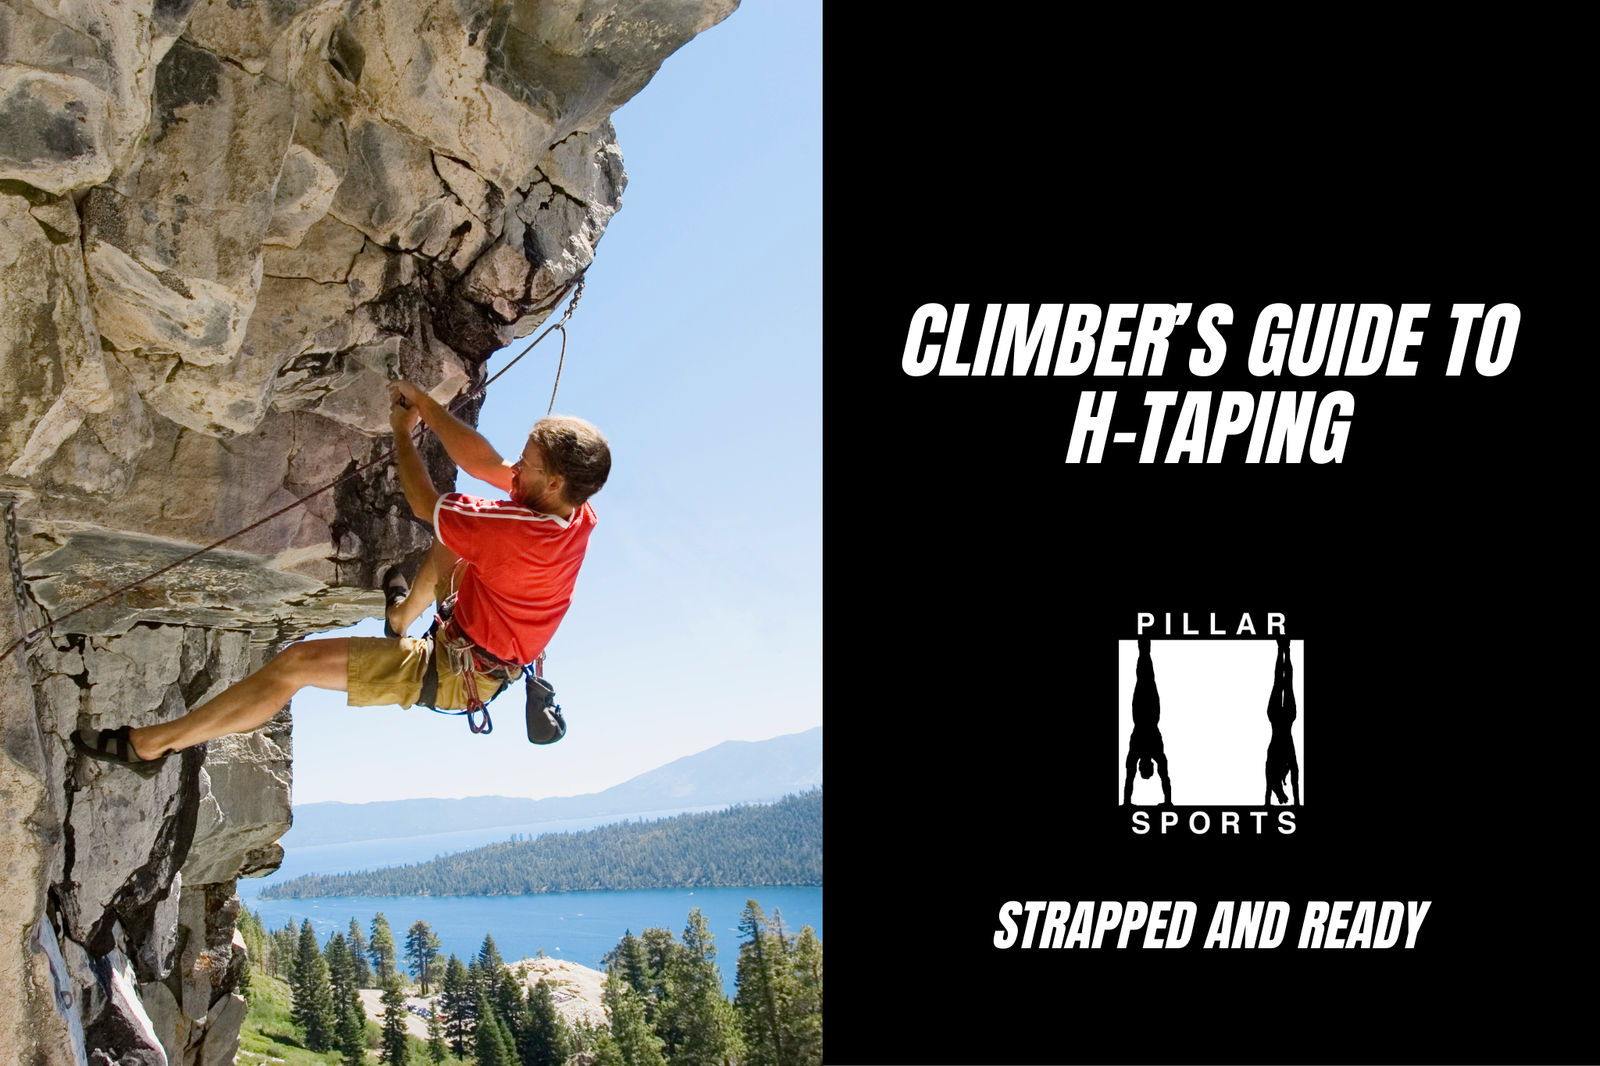
If you are a climber, you know the sound. The sickening “pop” followed by immediate regret.
If you are looking for a more general guide for Hand Taping, check out our Ultimate Guide on Hand Taping blog.
Pulley injuries (specifically to the A2 and A4 pulleys) are the most common traumatic injuries in rock climbing and bouldering. They happen when the force of a crimp causes the flexor tendon to bowstring away from the bone, tearing the ligament that holds it in place.
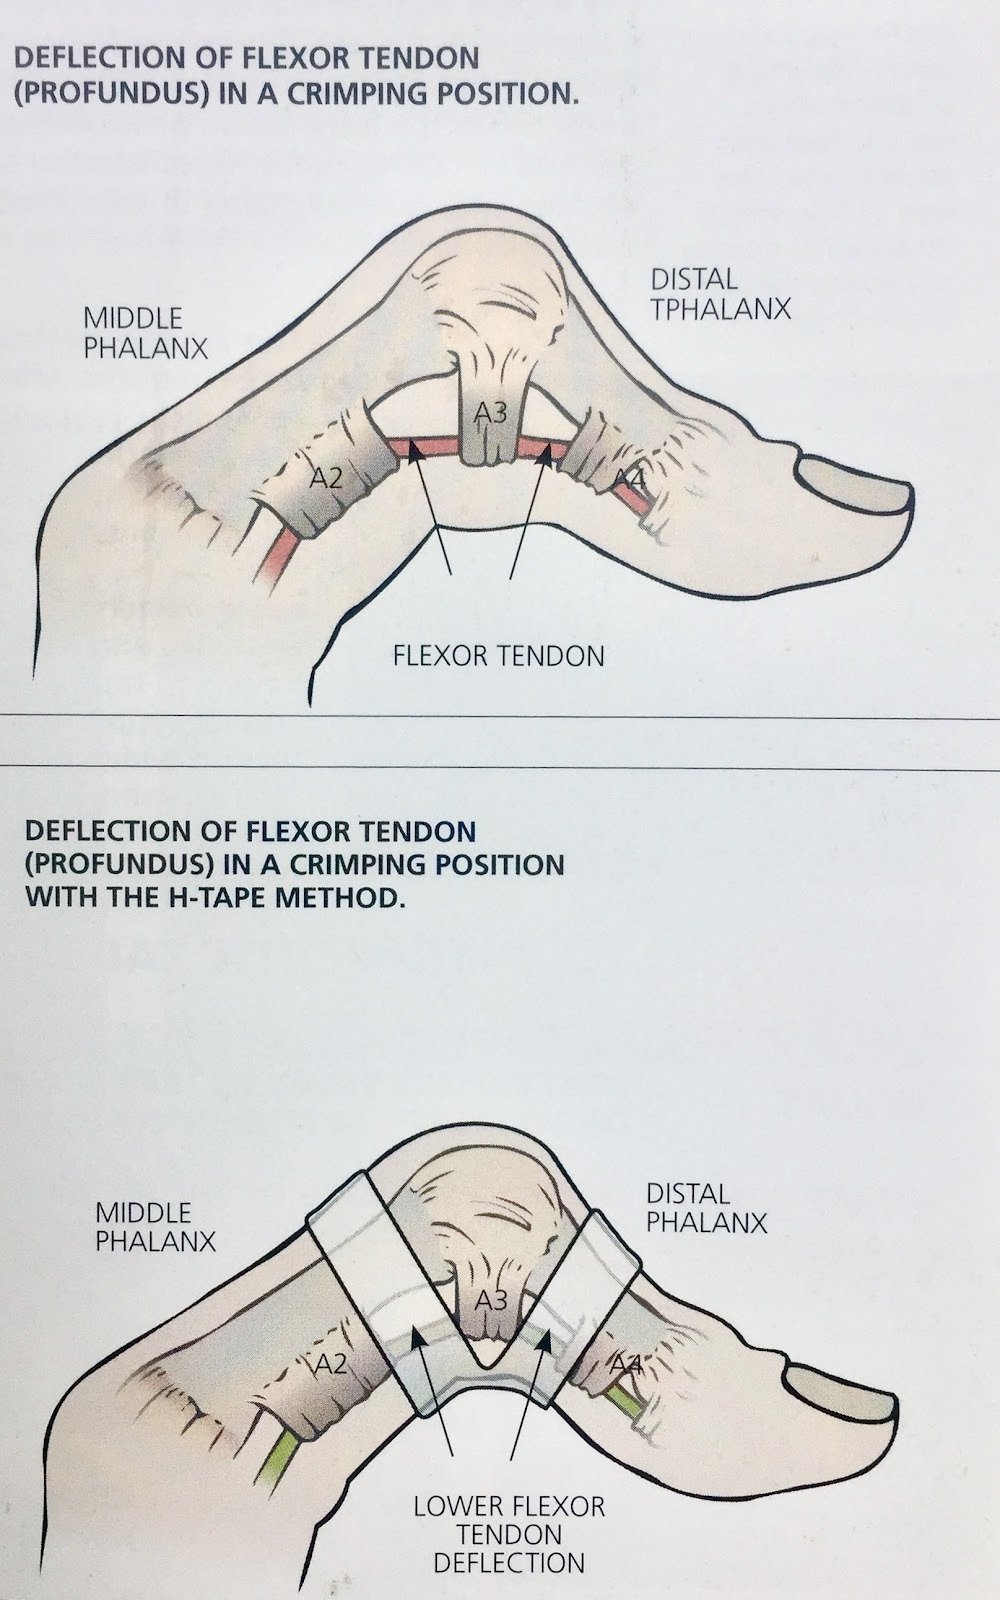
While rest is the only true cure for a rupture, H-Taping is widely considered the gold standard for supporting a healing pulley while you transition back to the wall.
In this guide, we’ll look at the H-Taping climbing method, why it works better than a simple loop, and how to do it correctly.
For years, climbers just wrapped tape in a circle around their finger (circumferential taping). However, research cited by physical therapists suggests that simple circles might not provide enough mechanical support to the pulley system.
This method isn’t just climbing folklore; it is backed by biomechanical data. We draw our protocols from the experts at Grassroots Physical Therapy and the landmark 2007 study by Dr. Isabelle Schöffl, which demonstrated that H-taping significantly reduces “tendon-bone distance” (bowstringing) more effectively than standard circular taping.
By creating a “bridge” of tape over the knuckle (PIP joint), you apply tension to both the proximal and middle phalanx bones simultaneously.
The Benefits:
Based on the standard protocol used by climbing physios.
What You Need: You don’t need special thin climbing tape for this. In fact, a wider roll is better. We recommend Pillar Sports 25mm Rigid Tape because you need to customize the width of the “legs” of the H.
Preparation: Clean your hands. Chalk and grease prevent adhesion.
Here’s a step-by-step guide on how to apply an H-tape for pulley injuries, as demonstrated in the video:
It’s important to apply the tape while your finger is in flexion (2:10-2:19), as this helps bring the pressure to the A3 pulley.
The Result: You should see the “bridge” sitting on your knuckle, while the legs tightly compress the segments above and below it. This acts as an external pulley system.
Many climbers waste money on pre-cut 8mm strips. The problem? You can’t make a true H-Tape with pre-cut strips because you need that solid connected bridge in the center.
With Pillar Sports 25mm Rigid Tape, you have the perfect width to create the bridge and the split legs in one single piece. It is the most versatile roll in your crag bag.
Sources:

Join 1,000+ athletes already training with Pillar Sports tape.
No spam. Unsubscribe anytime.
Enter your details below. We’ll send the template to your inbox and occasionally share useful kit ordering guides — no spam, unsubscribe anytime.
By downloading you agree to receive occasional emails from Pillar Sports. Unsubscribe anytime.
By submitting this form you agree to our Terms & Conditions and Privacy Policy.