Please be very aware that this information is neither intended nor implied to be a substitute for professional medical advice. Always seek the advice of your doctor or other qualified health professional before starting any new treatment or with any questions you may have regarding a medical condition.
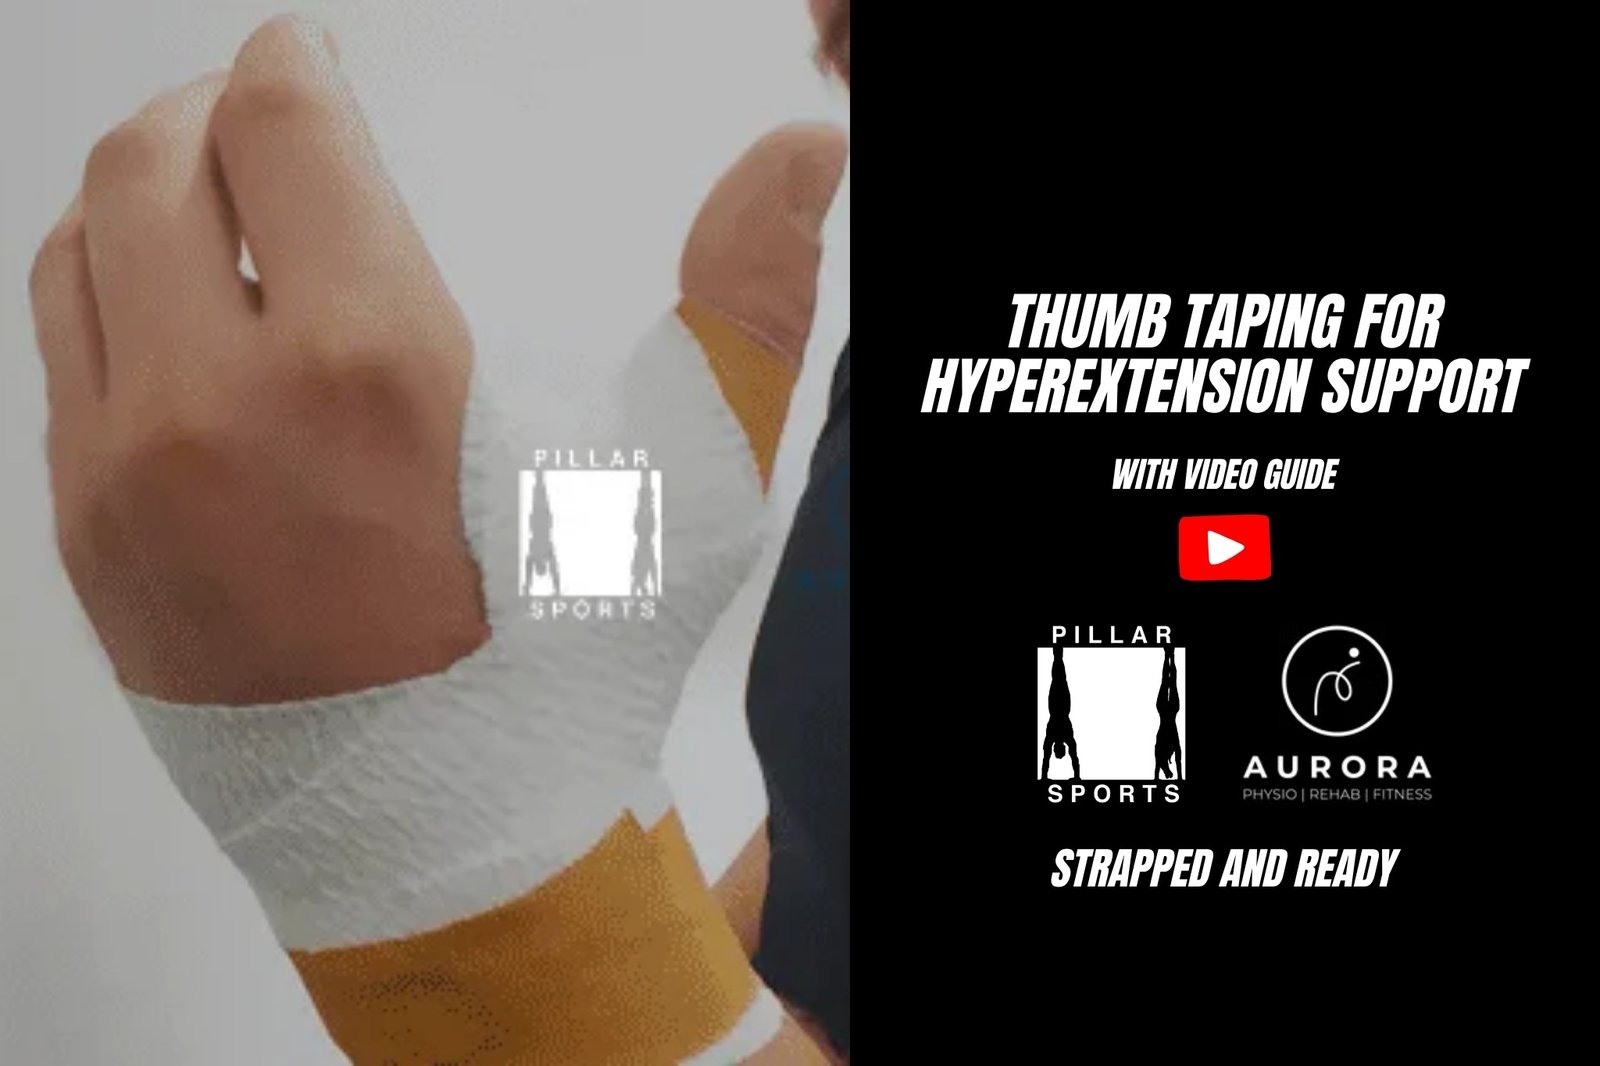
In this guide, you’ll learn how to tape a thumb for hyperextension using rigid sports tape—a practical technique trusted by athletes and physios alike.
The thumb is one of the most commonly injured joints in sports. A hyperextended thumb occurs when the joint is bent beyond its normal range of motion, often leading to discomfort, instability, or even ligament damage. In more severe cases, dislocation may occur—requiring medical intervention.
While taping doesn’t replace proper treatment, it can provide added support during physical activity. Whether you’re recovering from a mild injury or aiming to prevent one, proper thumb taping can make a real difference.
Thumb taping is commonly used by athletes involved in contact or high-speed sports such as:
It can also help during grip-heavy movements like lifting, climbing, or martial arts. Taping may help reduce strain, support healing, or add reinforcement during training or competition.
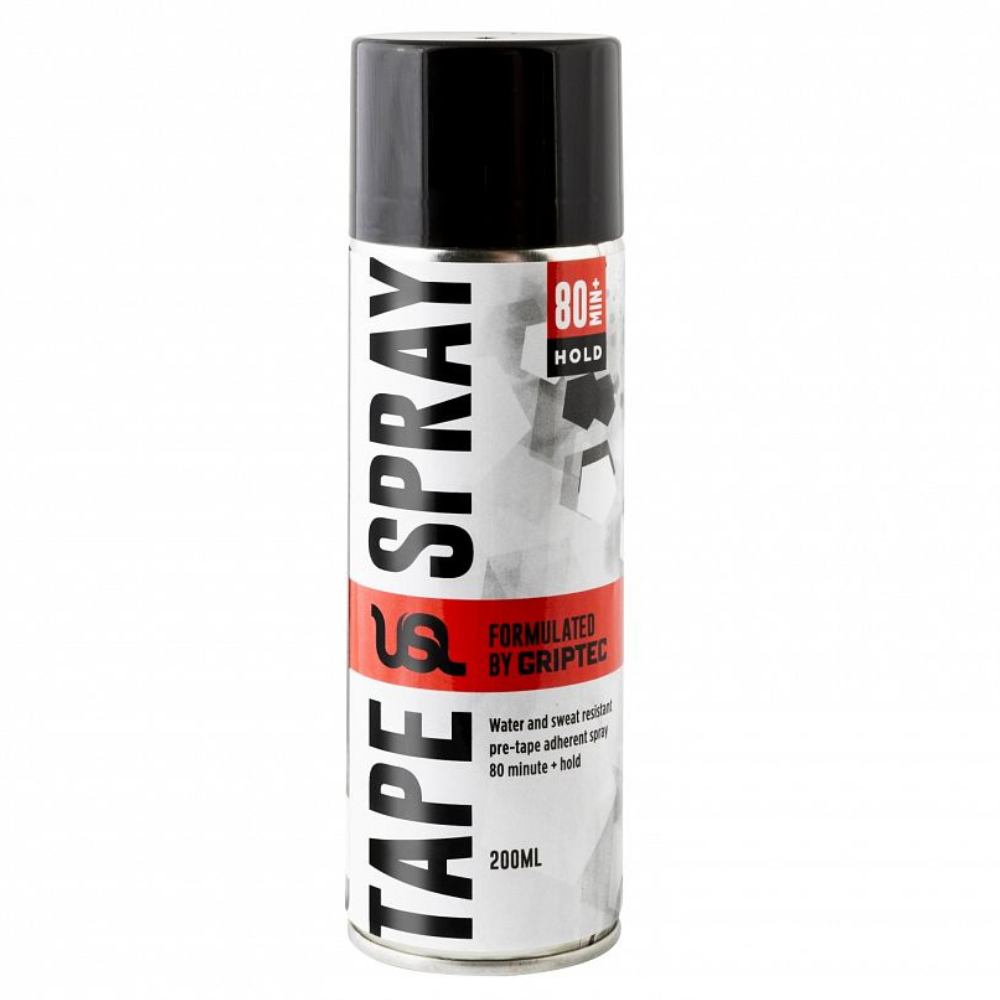
We recommend:
If you’re wondering what tape to use for your fingers or how to wrap a thumb with sports tape, rigid tape is the most effective option when joint stability is the goal.
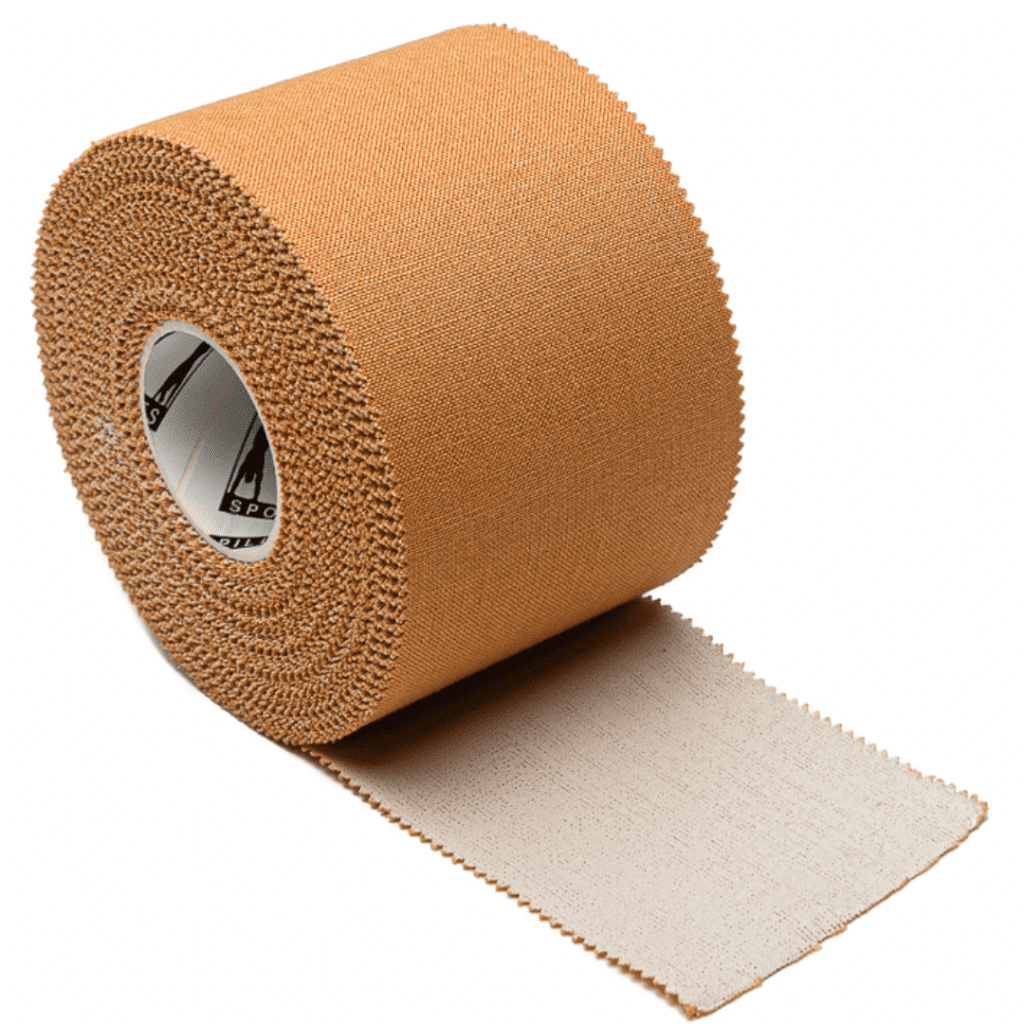
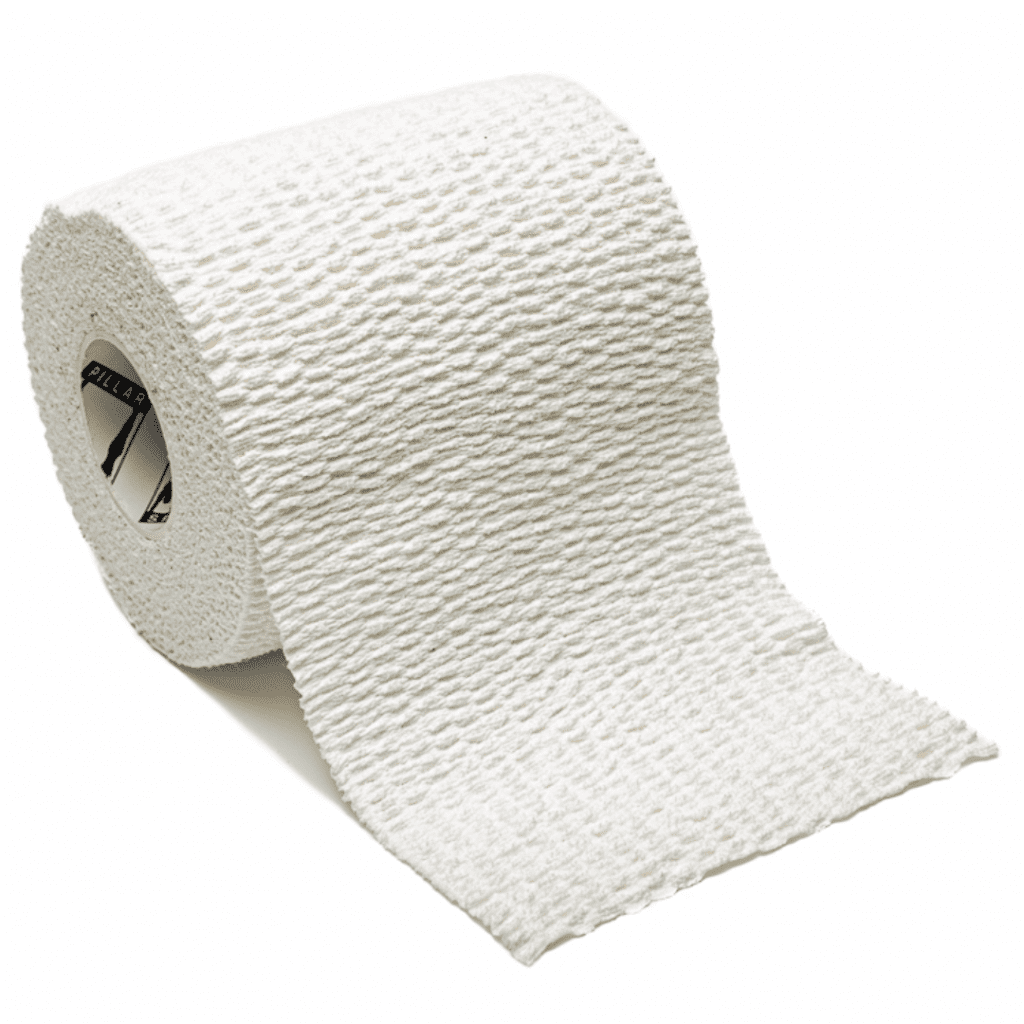
The following thumb taping technique is designed to help prevent hyperextension injuries and stabilize the thumb joint. We recommend using rigid sports tape, preferably 25mm in width, though 38mm may also be used depending on comfort.
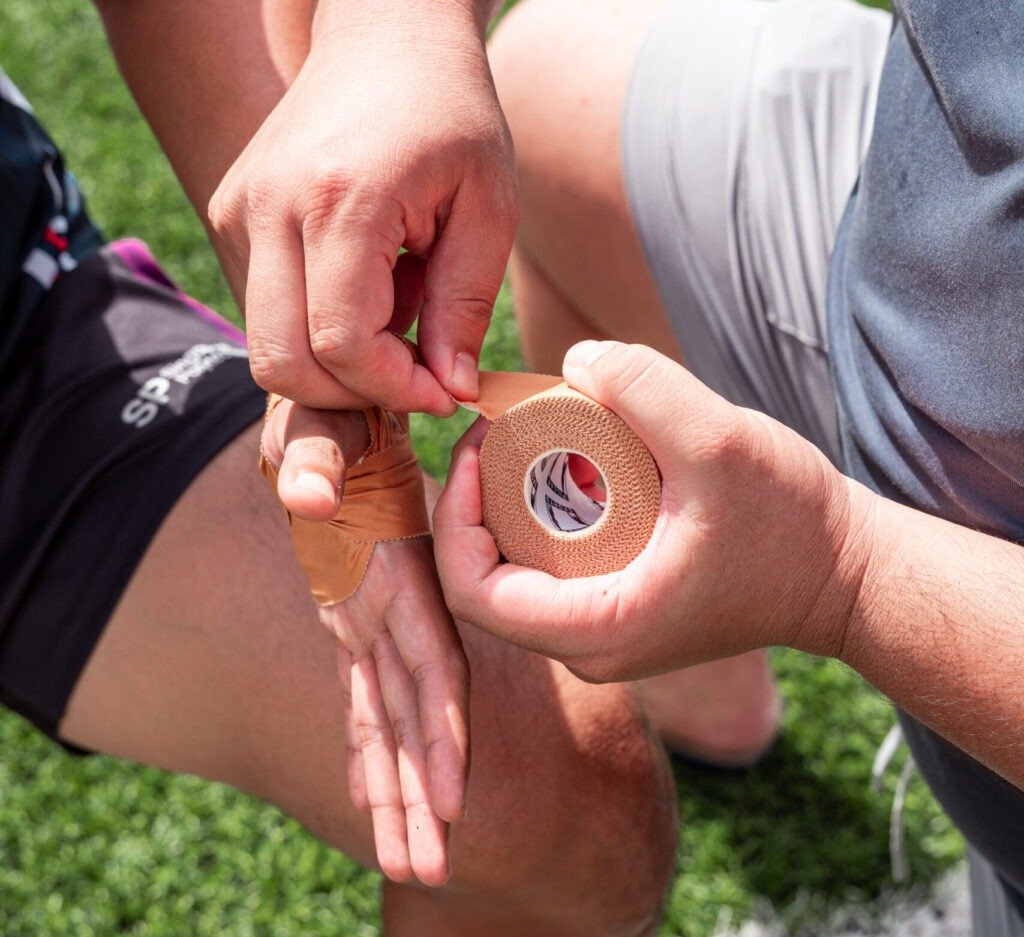
Start with clean, dry skin.
Place one anchor strip around the wrist, and a second over the web space between the thumb and index finger.
With the thumb in a neutral position (not flexed or extended), apply support strips across the MCP joint (first knuckle).
Each strip should cross the joint and anchor back onto the wrist.
Repeat 2–3 times, overlapping each strip by half for consistent support.

“One small clinical study found that combining a thumb braces with kinesiology tape was both safe and effective for treating MCP joint hyperextension injuries”
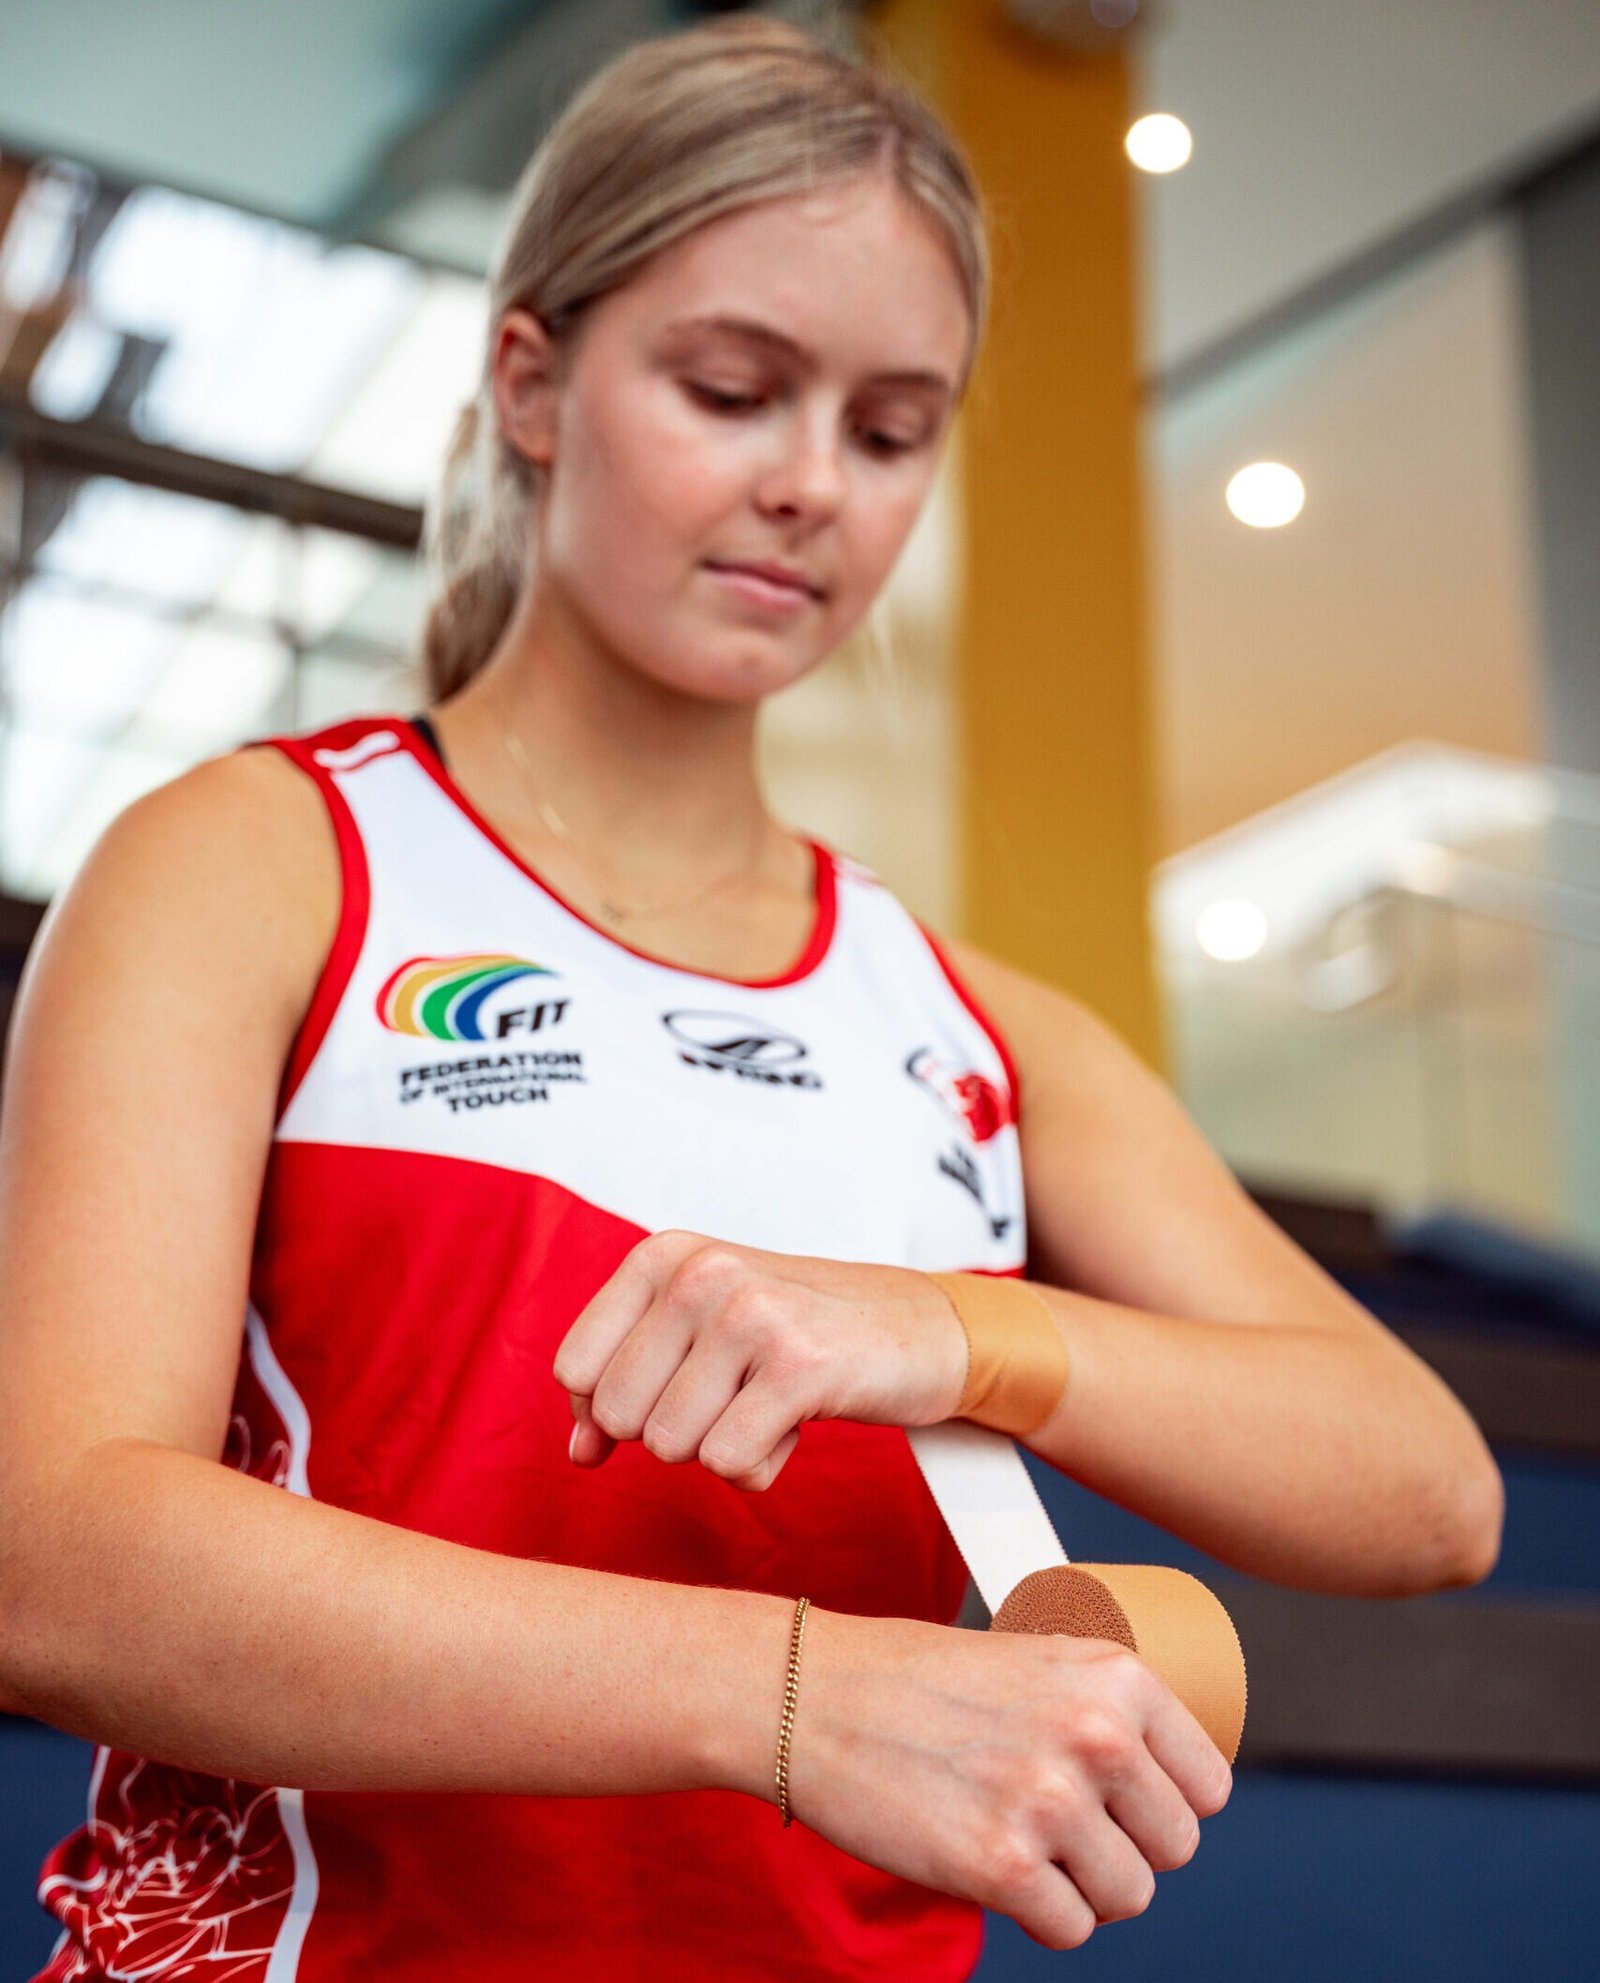
Reinforce the support structure by applying finishing strips just like your initial anchors—around the wrist and web space.
These hold the support strips securely in place.
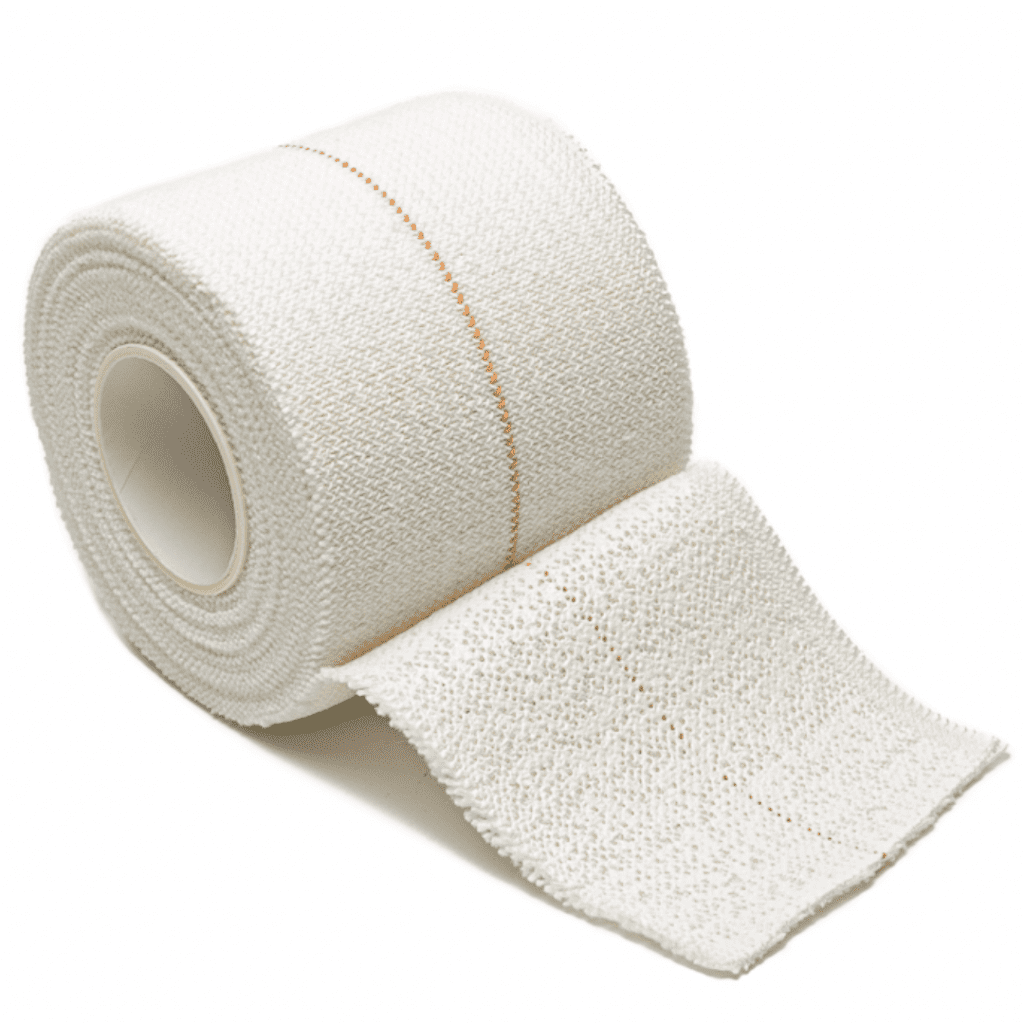
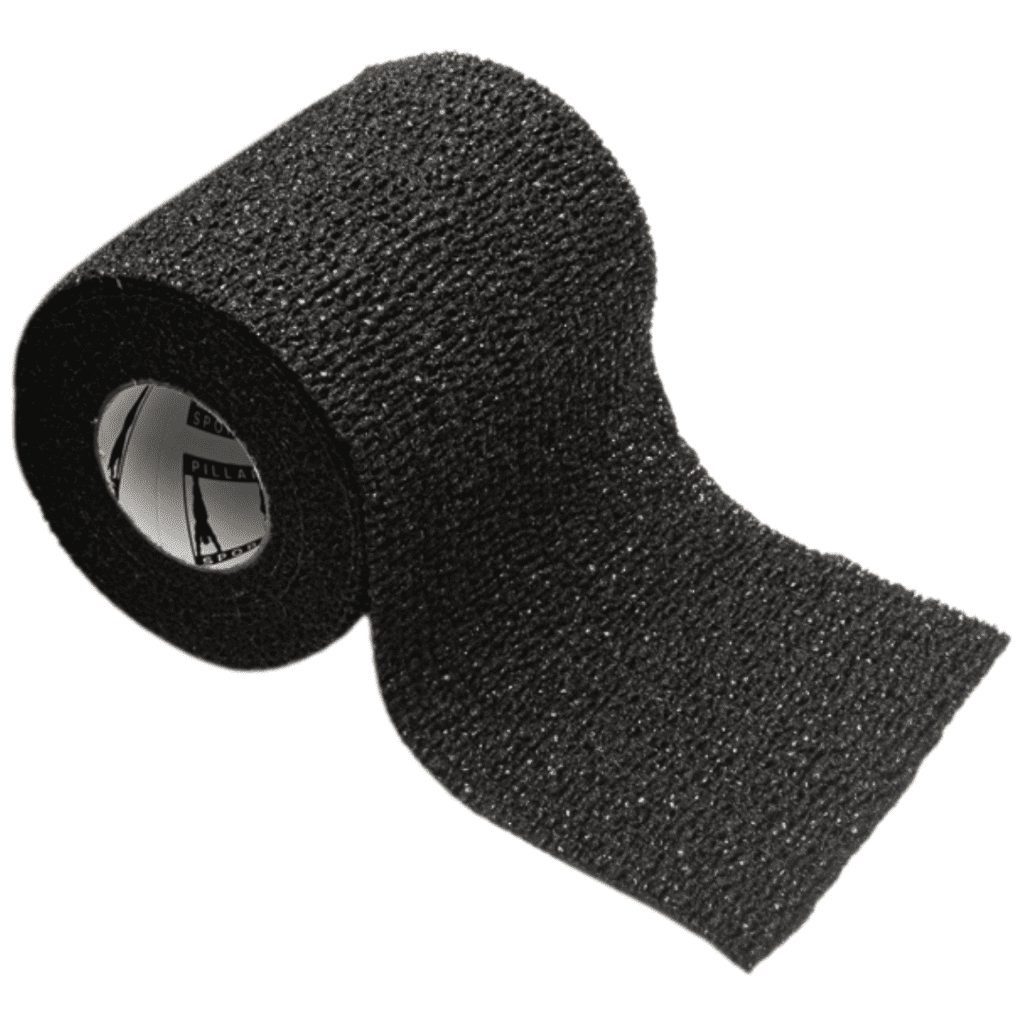
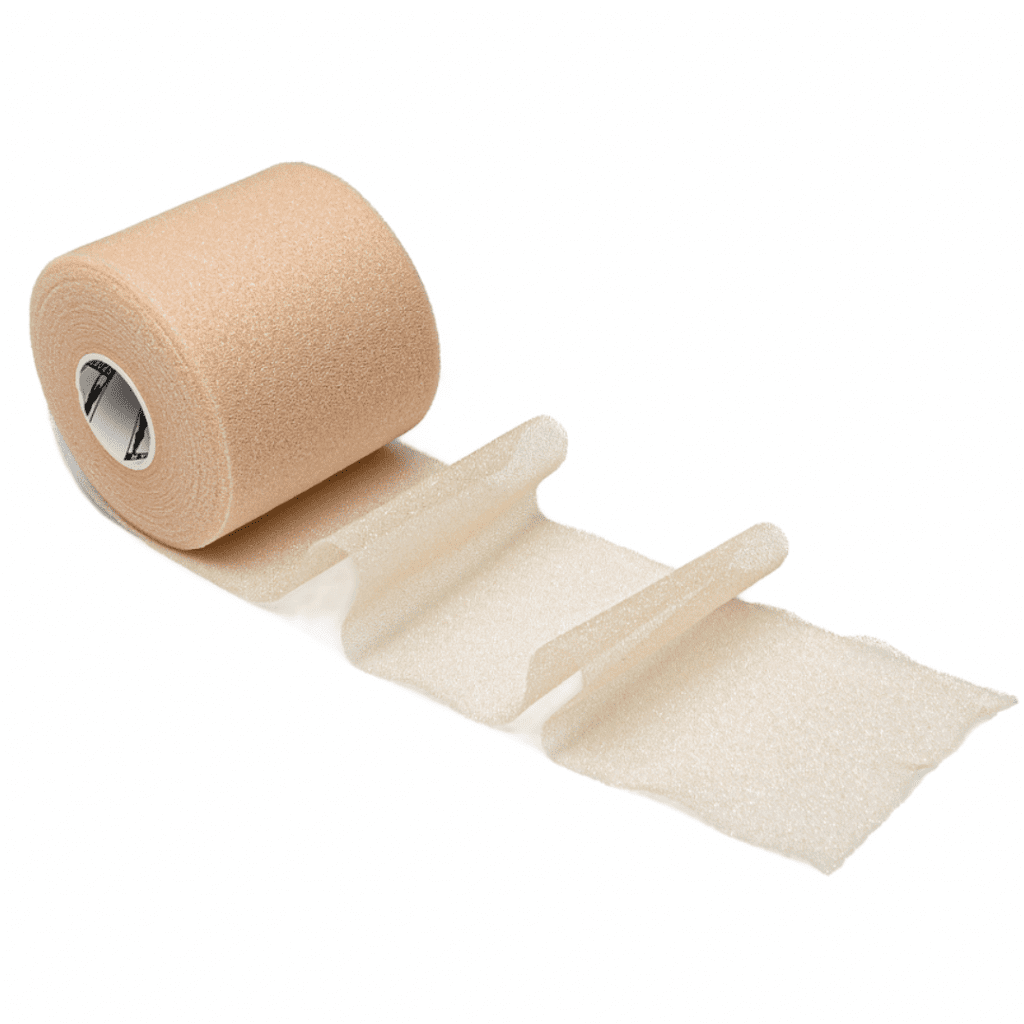
Use Elastic Adhesive Bandage (EAB) to close and secure the tape job.
Add a strip of rigid tape to lock the EAB in place.

| Mistake | What Happens | Fix |
|---|---|---|
| Taping too tightly | Numbness or tingling | Lighten tension and recheck circulation |
| No wrist anchor | Tape slips during motion | Always start with a firm anchor around the wrist |
| Over-flexed or extended thumb | Ineffective taping angle | Keep thumb in neutral position during taping |
| Using elastic tape instead of rigid | Insufficient support | Use rigid sports tape for injury prevention |
You can tape your thumb solo with practice, but having someone assist can ensure better tension and positioning.
Remove after activity or every 4–6 hours. Rigid tape is not meant for prolonged wear.
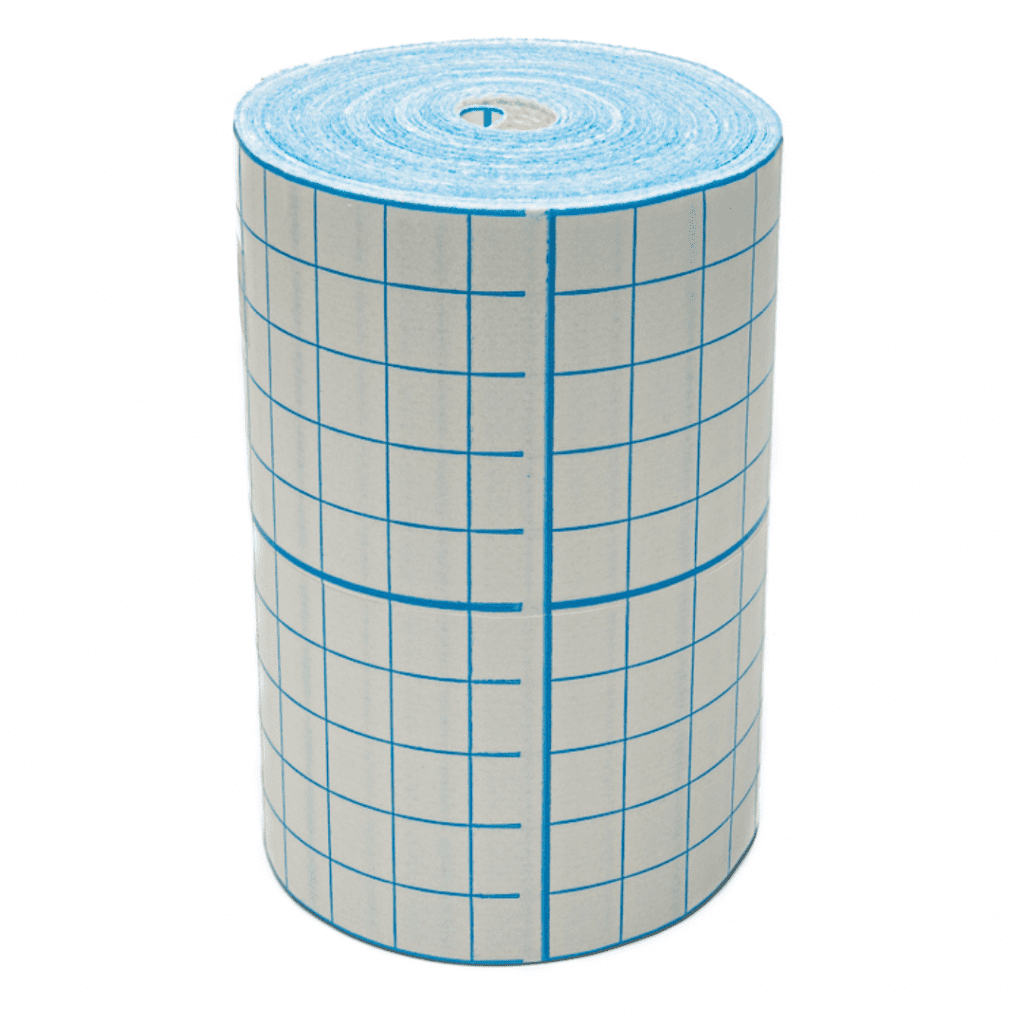
Rigid sports tape (25–38 mm wide) offers the best joint support. Kinesiology tape may help with light swelling or mobility.
No, finger taping methods differ slightly. We’ll cover sports tape for fingers in a separate guide.
If your injury affects both the thumb and wrist, you may need to extend taping to the wrist joint. Seek guidance if unsure.
Pillar Sports rigid tape is trusted by athletes across Hong Kong and Southeast Asia.
Designed for performance, comfort, and reliability (Even in humid training environments.)
Shop Thumb & Finger Sports Tape
Special thanks to Aurora Physiotherapy for collaborating with us on this taping series.
Built for Performance. Yours for Less.
Get early access to new drops, product launches, and performance-tested gear.
10% Off on Your Order.
No spam. Unsubscribe anytime.
This site is protected by reCAPTCHA and the Google Privacy Policy and Terms of Service apply.
Get early access to new drops, product launches, and performance-tested gear.
10% Off on Your Order.
No spam. Unsubscribe anytime.