The collaboration between Pillar Sports and Aurora Physiotherapy brings you our fourth part of the ‘How To’ Tape Series. The following information will provide you with a step by step guide on Strapping the Elbow the right way.
Although injuries to the elbow can be severe and require a long time away from sports and exercise, the most common injury we see is Elbow HyperExtension. What happens here is your elbow joint is bent beyond its normal range of motion. This type of injury can often damage the joints and ligaments causing pain and instability. It can also lead to the dislocation of your elbow joint which may require more serious medical attention.
Strapping can be effective in two ways; Protect and treat an existing elbow injury and to Prevent further injury by supporting the joints and ligaments. Hyperextension to the elbow can happen to anyone in the sporting world but ones that are at higher risk involve some form of contact or fast movements. These sports range from Boxing, Judo, Rugby, American Football, Tennis and Gymnasts. Even a regular gym enthusiast can pick up this type of injury if certain exercises are not executed with proper form.
Elbow Strapping Steps
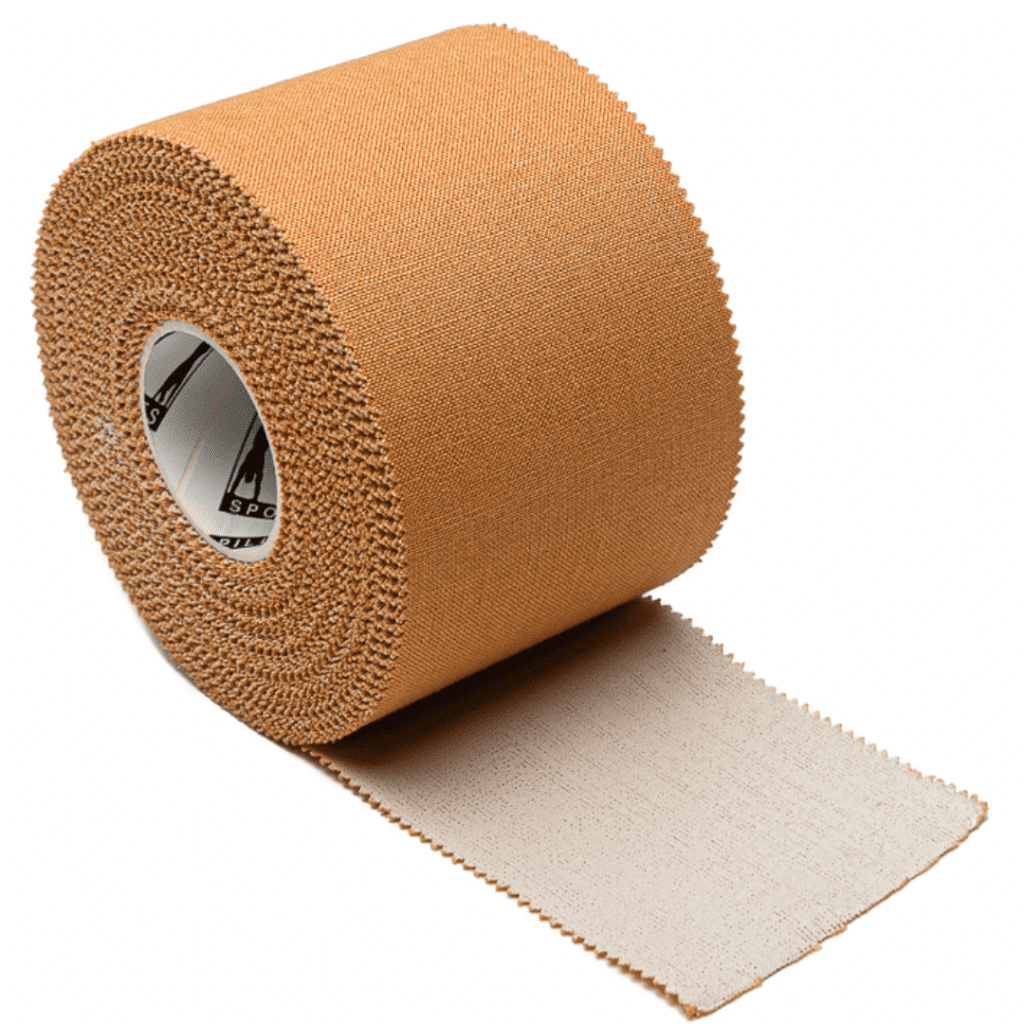
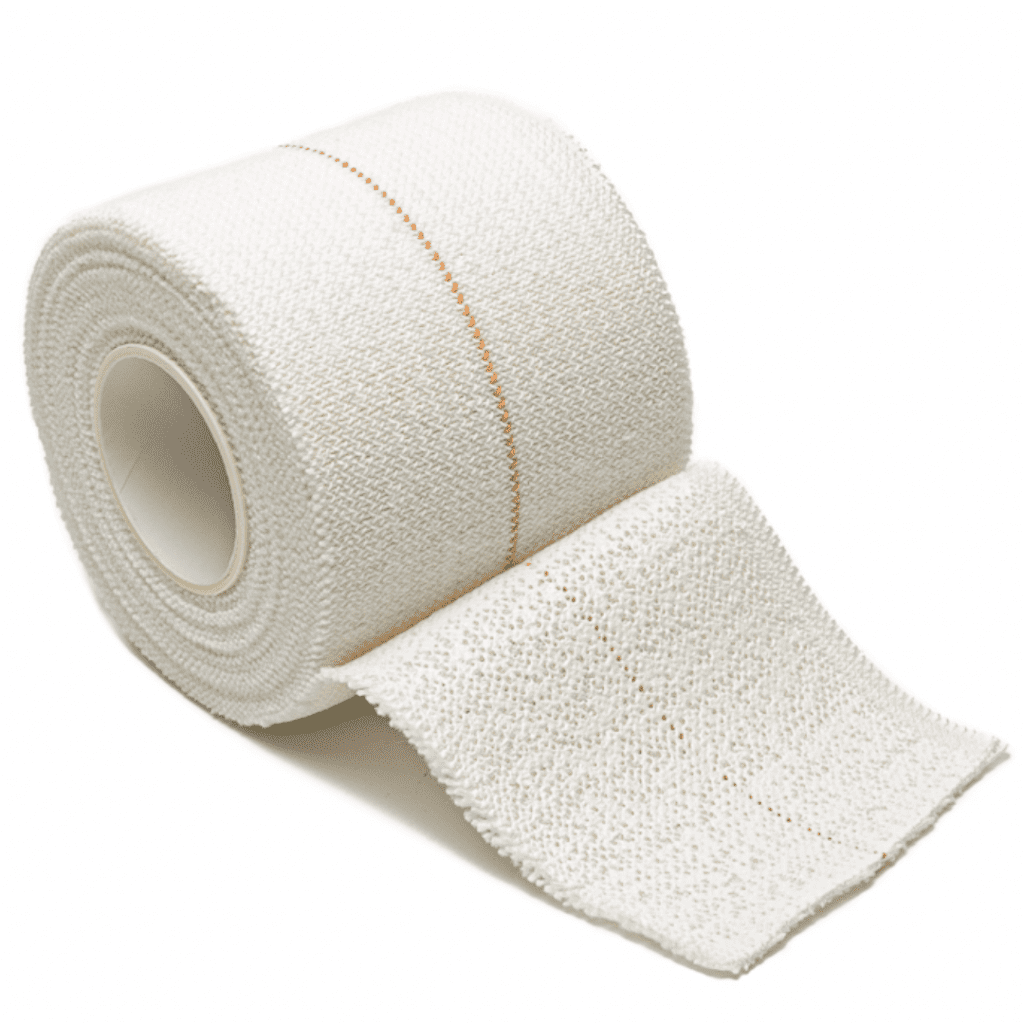
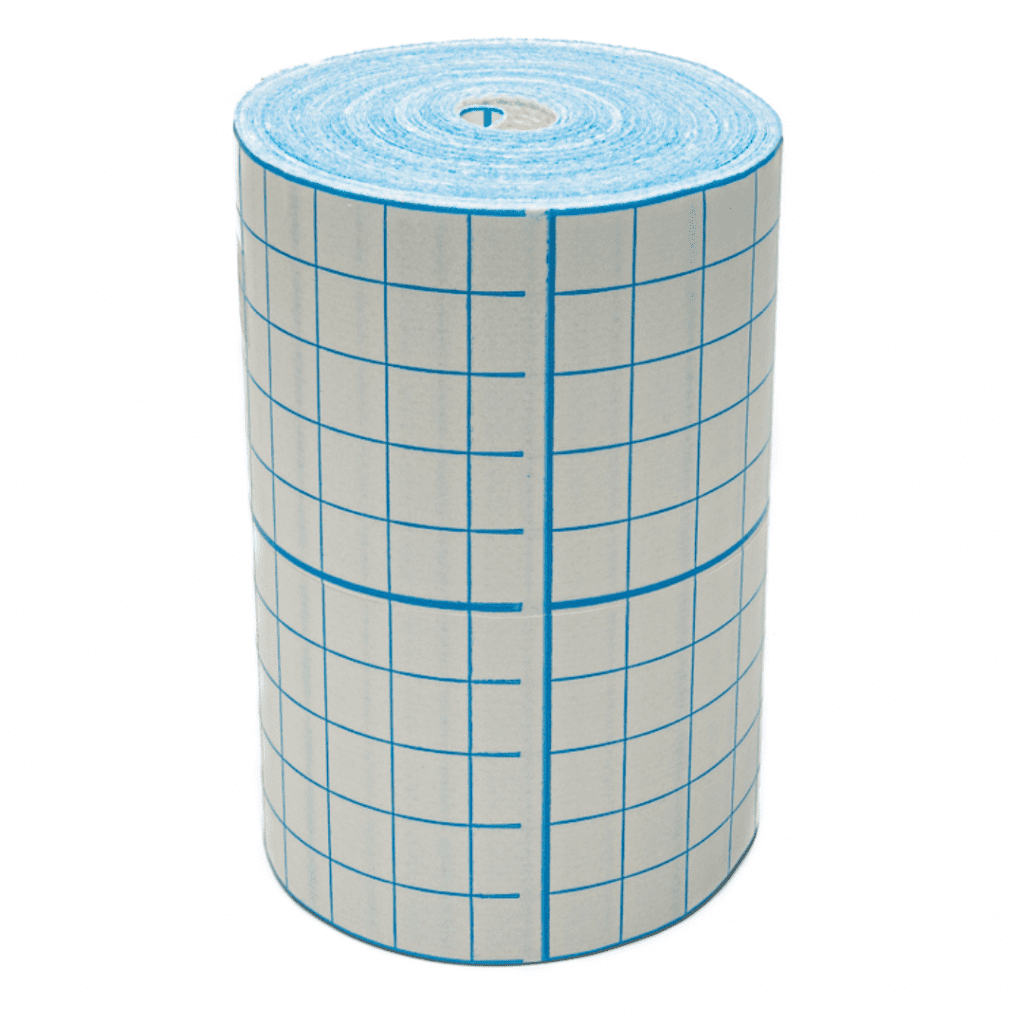
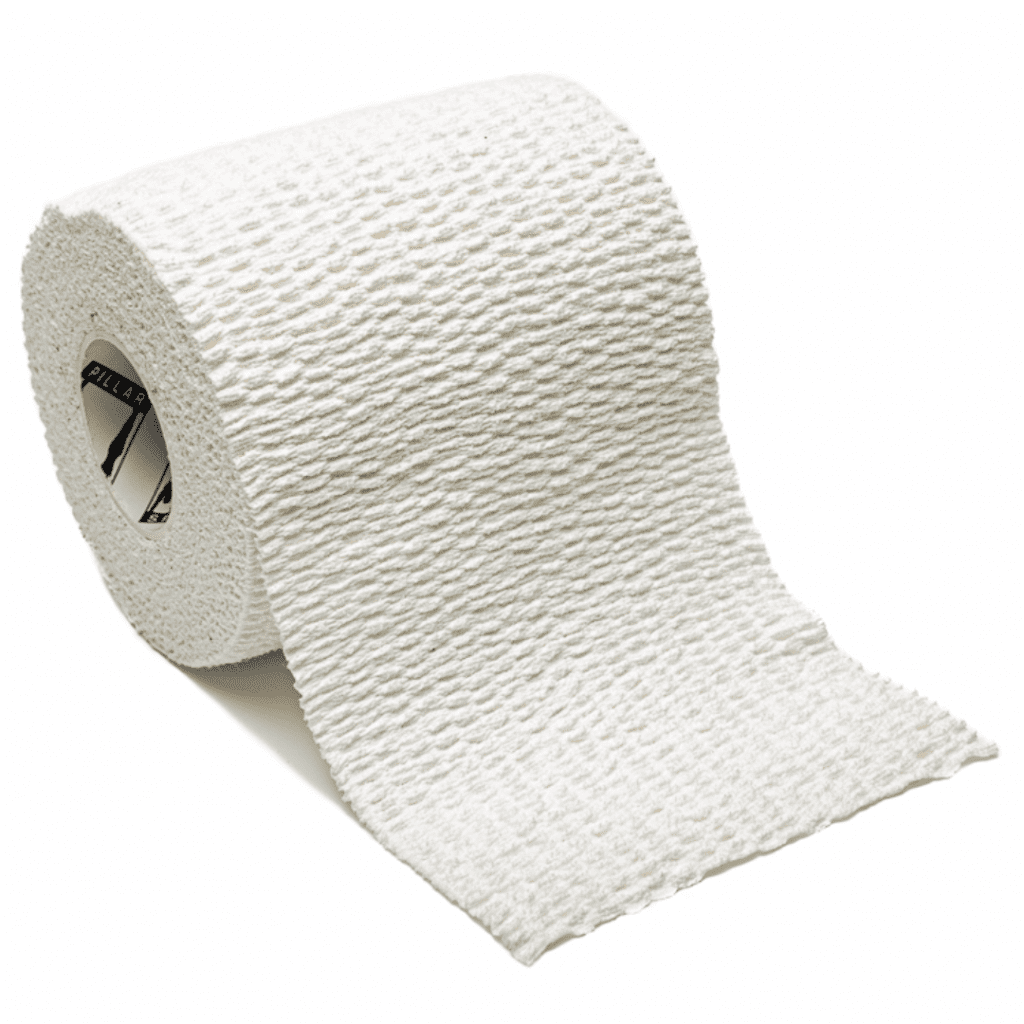
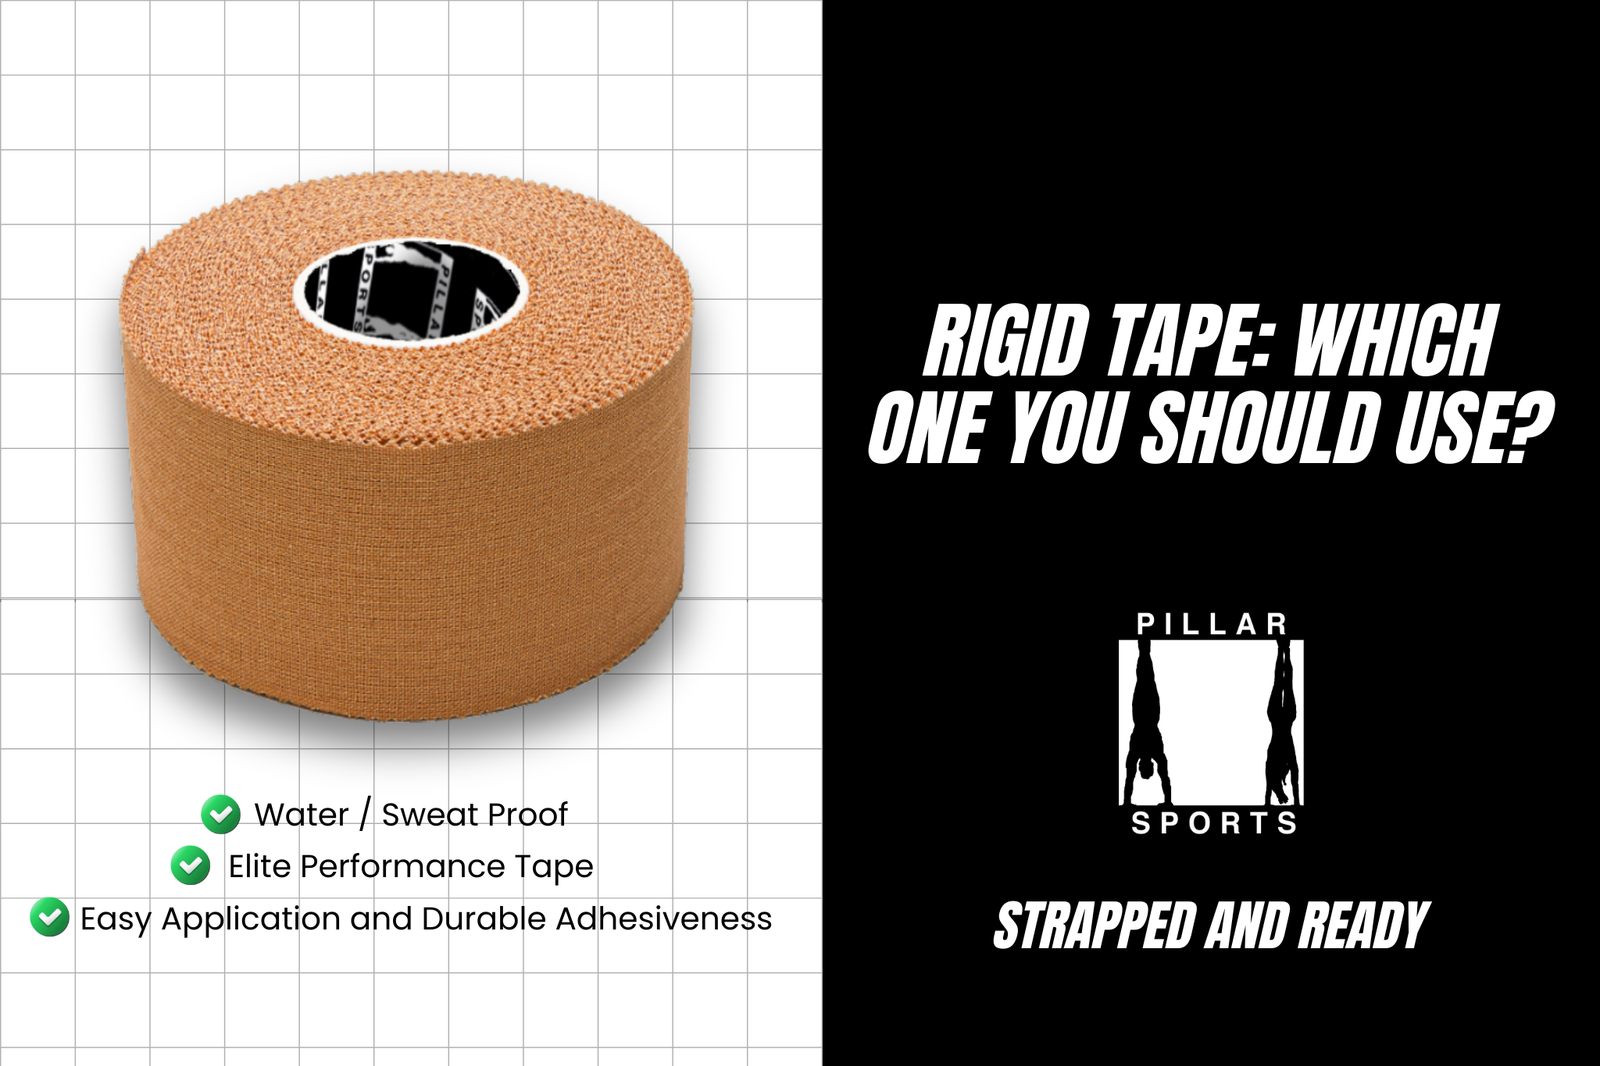
The aim of this taping is to prevent and protect the ligaments in the elbow from further injury. The tape helps to stabilize the joint and prevent hyperextension of ligaments which can result in further injury. We recommend the use of Rigid Tape. The 38mm range is most commonly used but 50mm is an option dependent on personal preference and comfort. For better adhesion, we recommend using 50mm Hypoallergenic Fix-It Tape between Anchor Strips. Then to seal off and add further protection we recommend using Elastic Adhesive Bandage (EAB). The Pictures and Videos below will show our White 75mm EAB products. But again, the 50mm range is also an option and the colour comes down to personal preference.
Desired Support Accessories (Not always necessary)
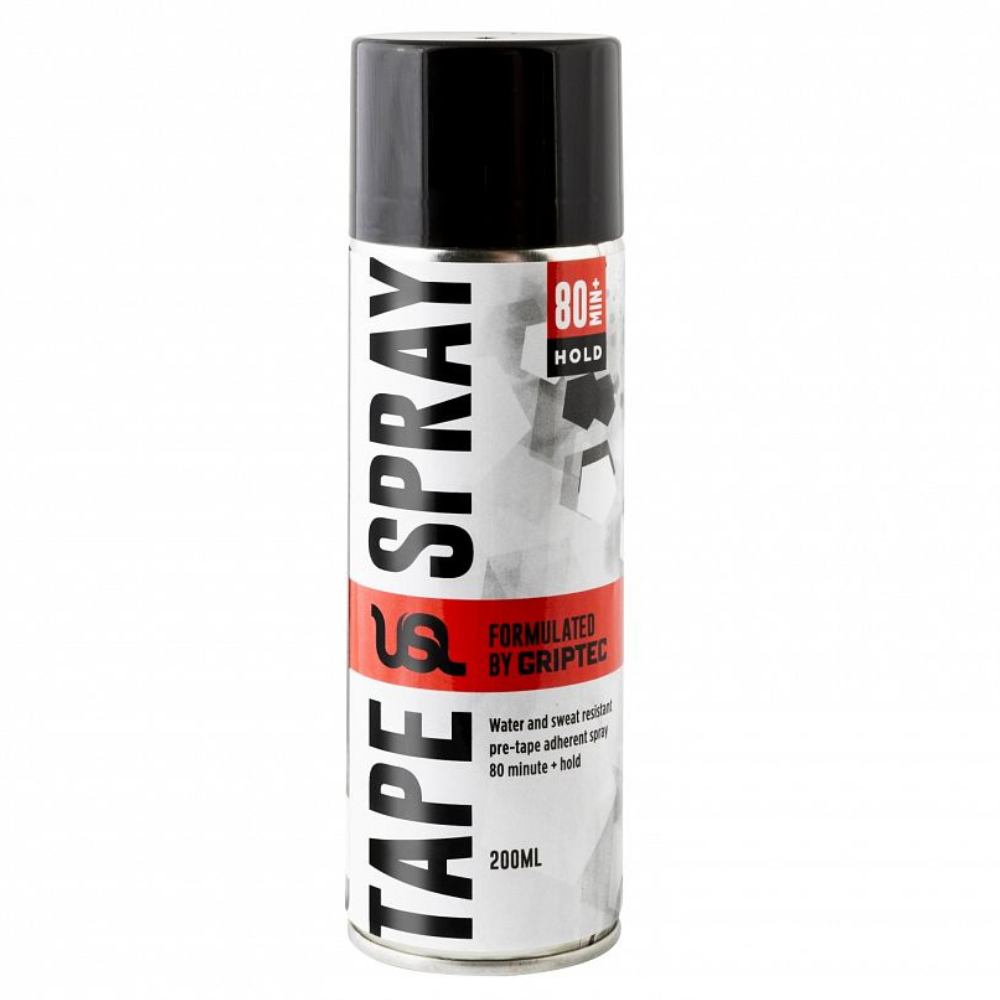
Apply an adhesive spray – Spray around the Bicep and Forearm area to increase the effectiveness of the Strapping.
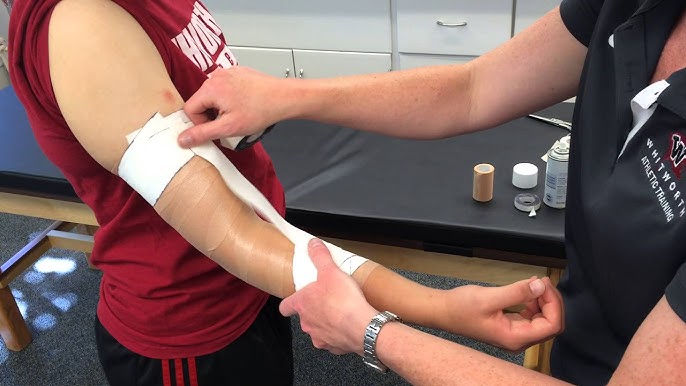
Ensure the skin is clean and dry. Apply elastic adhesive bandages (EAB) around the mid biceps and mid forearm. Contract the biceps muscle during the taping to allow the muscle to expand during exercise.
Apply anchor strips directly on top of EAB. Put the elbow in the desired flexed position and apply adhesive non woven hypo fix-it tapes between the anchor strips.
Elbow Strapping Step 3 – Support Strips & Finishing Strips
Apply support strips over the elbow in crossed shape to prevent the elbow going into full extension. Repeat 2-3 times of this application overlapping half of the previous strip. Then apply finishing strips the same way as the anchor strips to secure the support strips.
Elbow Strapping Step 4 – EAB (Close off Taping)
Use EAB to close up the tapes. Secure with EAB and a strip of rigid tape.
Finishing steps (ESSENTIAL)
Check that the taping is not uncomfortable for either yourself or the person being strapped.
Check that the taping restricts the desired elbow movement.
Remember… elbow strapping can help to prevent injury as well as protect and treat any existing injuries. Therefore, if you follow the steps provided and watch the educational ‘How To’ videos you will be able to strap the elbow in no time.
Stay tuned for the next Educational Taping blog.
To check out the amazing team at Aurora Physiotherapy and what professional services they offer go to: https://www.auroraphysio.com.hk/
Aurora Physiotherapy treatments are a hand-on and 1 to 1. This helps them to focus on the underlying cause of your problems, rather than just treating any symptoms you may have.
Tape Series: Part 4 Elbow Strapping.
The collaboration between Pillar Sports and Aurora Physiotherapy brings you our fourth part of the ‘How To’ Tape Series. The following information will provide you with a step by step guide on Strapping the Elbow the right way.
Although injuries to the elbow can be severe and require a long time away from sports and exercise, the most common injury we see is Elbow HyperExtension. What happens here is your elbow joint is bent beyond its normal range of motion. This type of injury can often damage the joints and ligaments causing pain and instability. It can also lead to the dislocation of your elbow joint which may require more serious medical attention.
Strapping can be effective in two ways; Protect and treat an existing elbow injury and to Prevent further injury by supporting the joints and ligaments. Hyperextension to the elbow can happen to anyone in the sporting world but ones that are at higher risk involve some form of contact or fast movements. These sports range from Boxing, Judo, Rugby, American Football, Tennis and Gymnasts. Even a regular gym enthusiast can pick up this type of injury if certain exercises are not executed with proper form.
Elbow Strapping Steps
The aim of this taping is to prevent and protect the ligaments in the elbow from further injury. The tape helps to stabilize the joint and prevent hyperextension of ligaments which can result in further injury. We recommend the use of Rigid Tape. The 38mm range is most commonly used but 50mm is an option dependent on personal preference and comfort. For better adhesion, we recommend using 50mm Hypoallergenic Fix-It Tape between Anchor Strips. Then to seal off and add further protection we recommend using Elastic Adhesive Bandage (EAB). The Pictures and Videos below will show our White 75mm EAB products. But again, the 50mm range is also an option and the colour comes down to personal preference.
Desired Support Accessories (Not always necessary)
Elbow Strapping Step 1: Elastic Adhesive Bandage (EAB)
Ensure the skin is clean and dry. Apply elastic adhesive bandages (EAB) around the mid biceps and mid forearm. Contract the biceps muscle during the taping to allow the muscle to expand during exercise.
Elbow Strapping Step 2: Anchor Strips & Hypo Fix-It Tape
Apply anchor strips directly on top of EAB. Put the elbow in the desired flexed position and apply adhesive non woven hypo fix-it tapes between the anchor strips.
Elbow Strapping Step 3 – Support Strips & Finishing Strips
Apply support strips over the elbow in crossed shape to prevent the elbow going into full extension. Repeat 2-3 times of this application overlapping half of the previous strip. Then apply finishing strips the same way as the anchor strips to secure the support strips.
Elbow Strapping Step 4 – EAB (Close off Taping)
Use EAB to close up the tapes. Secure with EAB and a strip of rigid tape.
Finishing steps (ESSENTIAL)
Remember… elbow strapping can help to prevent injury as well as protect and treat any existing injuries. Therefore, if you follow the steps provided and watch the educational ‘How To’ videos you will be able to strap the elbow in no time.
Stay tuned for the next Educational Taping blog.
To check out the amazing team at Aurora Physiotherapy and what professional services they offer go to: https://www.auroraphysio.com.hk/
Aurora Physiotherapy treatments are a hand-on and 1 to 1. This helps them to focus on the underlying cause of your problems, rather than just treating any symptoms you may have.
#strappedandready