Automatically claim your 4 Free Turf Tape Strips & 1 can of Perskindol Cool Spray if you spend HK$800 on Cart!
Please be very aware that this information is neither intended nor implied to be a substitute for professional medical advice. Always seek the advice of your doctor or other qualified health professional before starting any new treatment or with any questions you may have regarding a medical condition.
Last updated on: August 19, 2025
Shoulder discomfort is a common challenge for athletes, whether you’re on the rugby field, the hockey rink, or just grinding through your weekly baseball or softball games. When your shoulder joint feels unstable or sore, strapping can offer extra support without completely limiting your range of motion.
This guide will walk you through how to strap a shoulder using rigid sports tape—with tips on when to use strapping, what tape to use, and how to avoid common mistakes. While shoulder taping can’t replace medical treatment, it’s widely used by athletes to add stability, protect ligaments, and help reduce discomfort during movement.
Shoulder strapping can provide three main benefits for athletes:
Shoulder issues often involve ligament strains or mild tears, which can make the joint feel loose or unstable. Strapping can help manage this by keeping the shoulder better aligned during play.
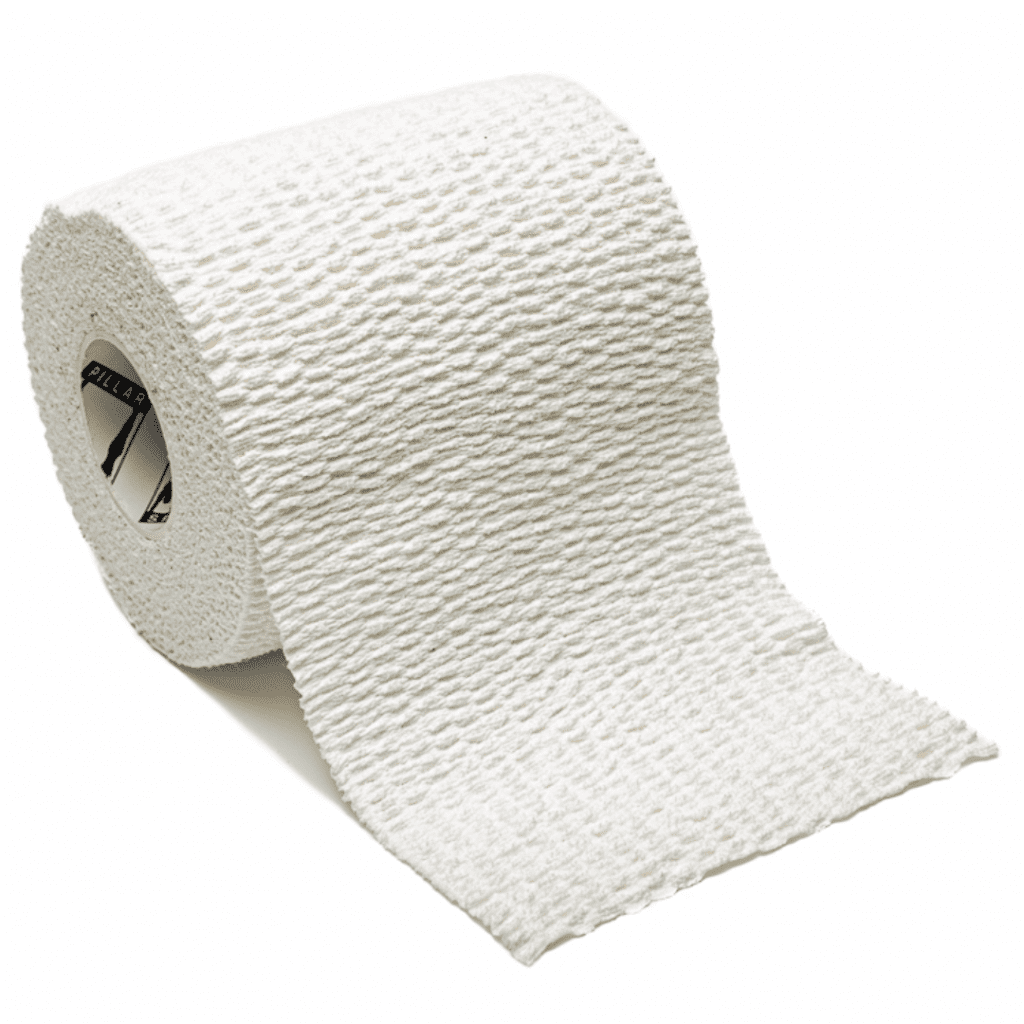
Here’s a quick guide to the common tapes used for shoulder strapping:
| Tape Type | Purpose |
|---|---|
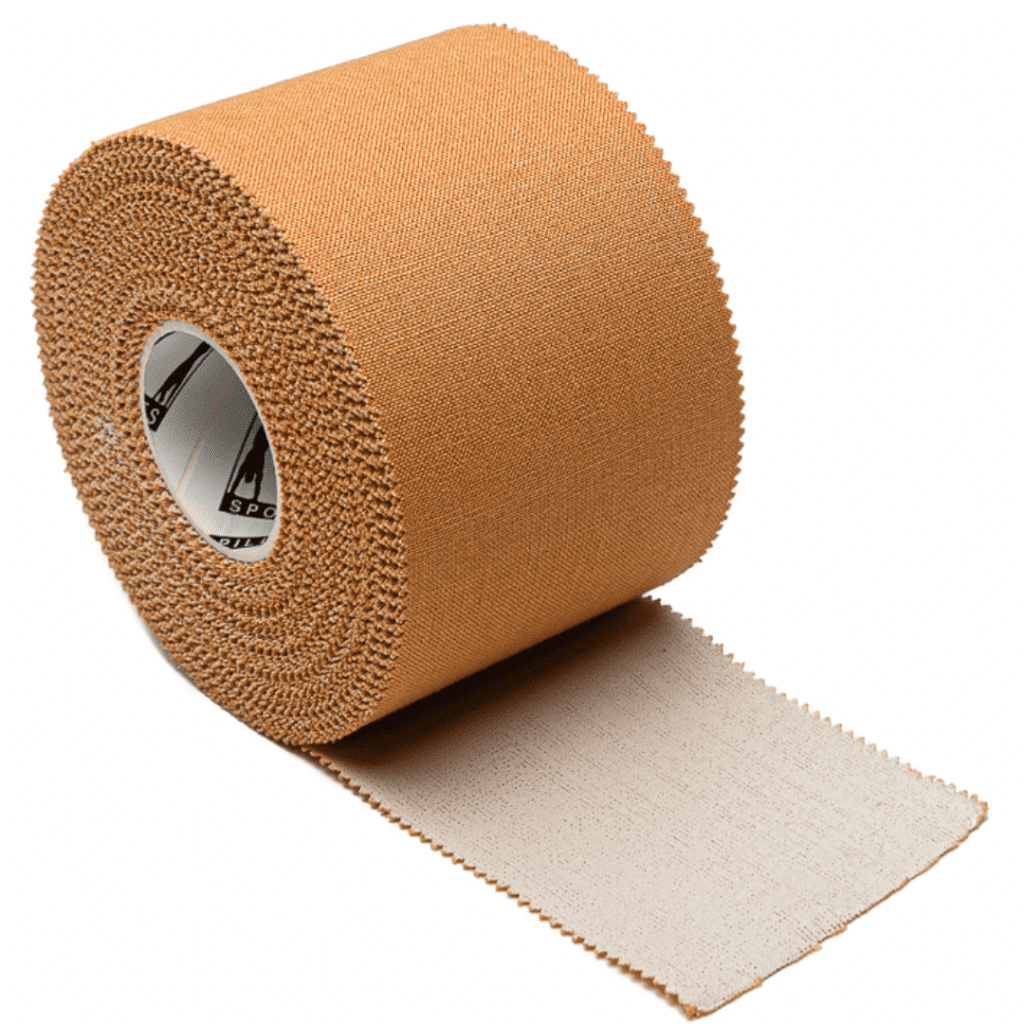
| Rigid Sports Tape (38–50mm) | Provides firm support, ideal for ligament stabilization. |
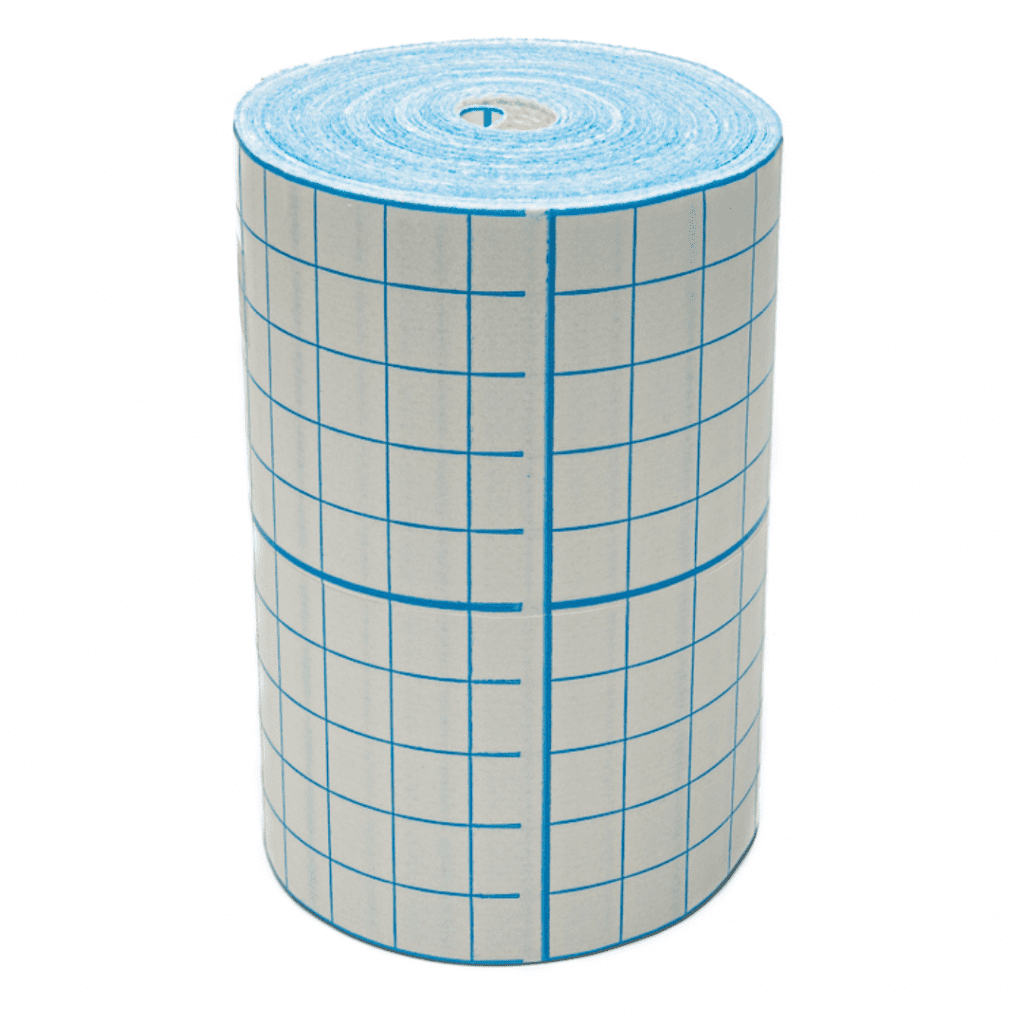
| Elastic Adhesive Bandage (EAB, 50–75mm) | Secures layers and provides extra compression and hold. |
| Hypo Fix-It Tape | Protects skin and improves adhesion of rigid tape. |
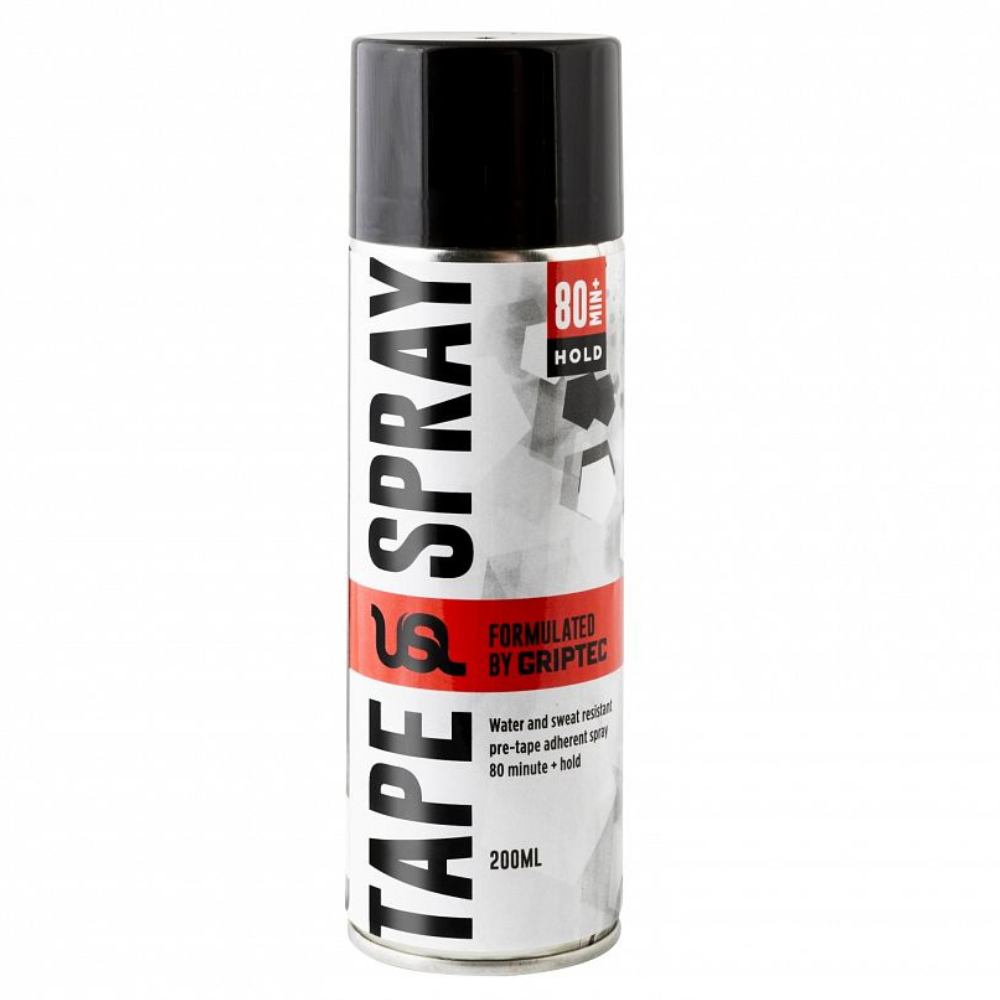
| Pre-Tape Adhesive Spray | Helps tape stick better, especially during sweaty sessions. |
Need quality tape for your next session?
Check out our Rigid Sports Tape and Elastic Adhesive Bandages—delivered fast to Hong Kong, Singapore, and the Philippines.
Athletes often strap their shoulders in situations such as:
Shoulder tape should be applied on clean, dry skin, and ideally under the guidance of a physiotherapist or trainer to make sure the technique suits your needs.
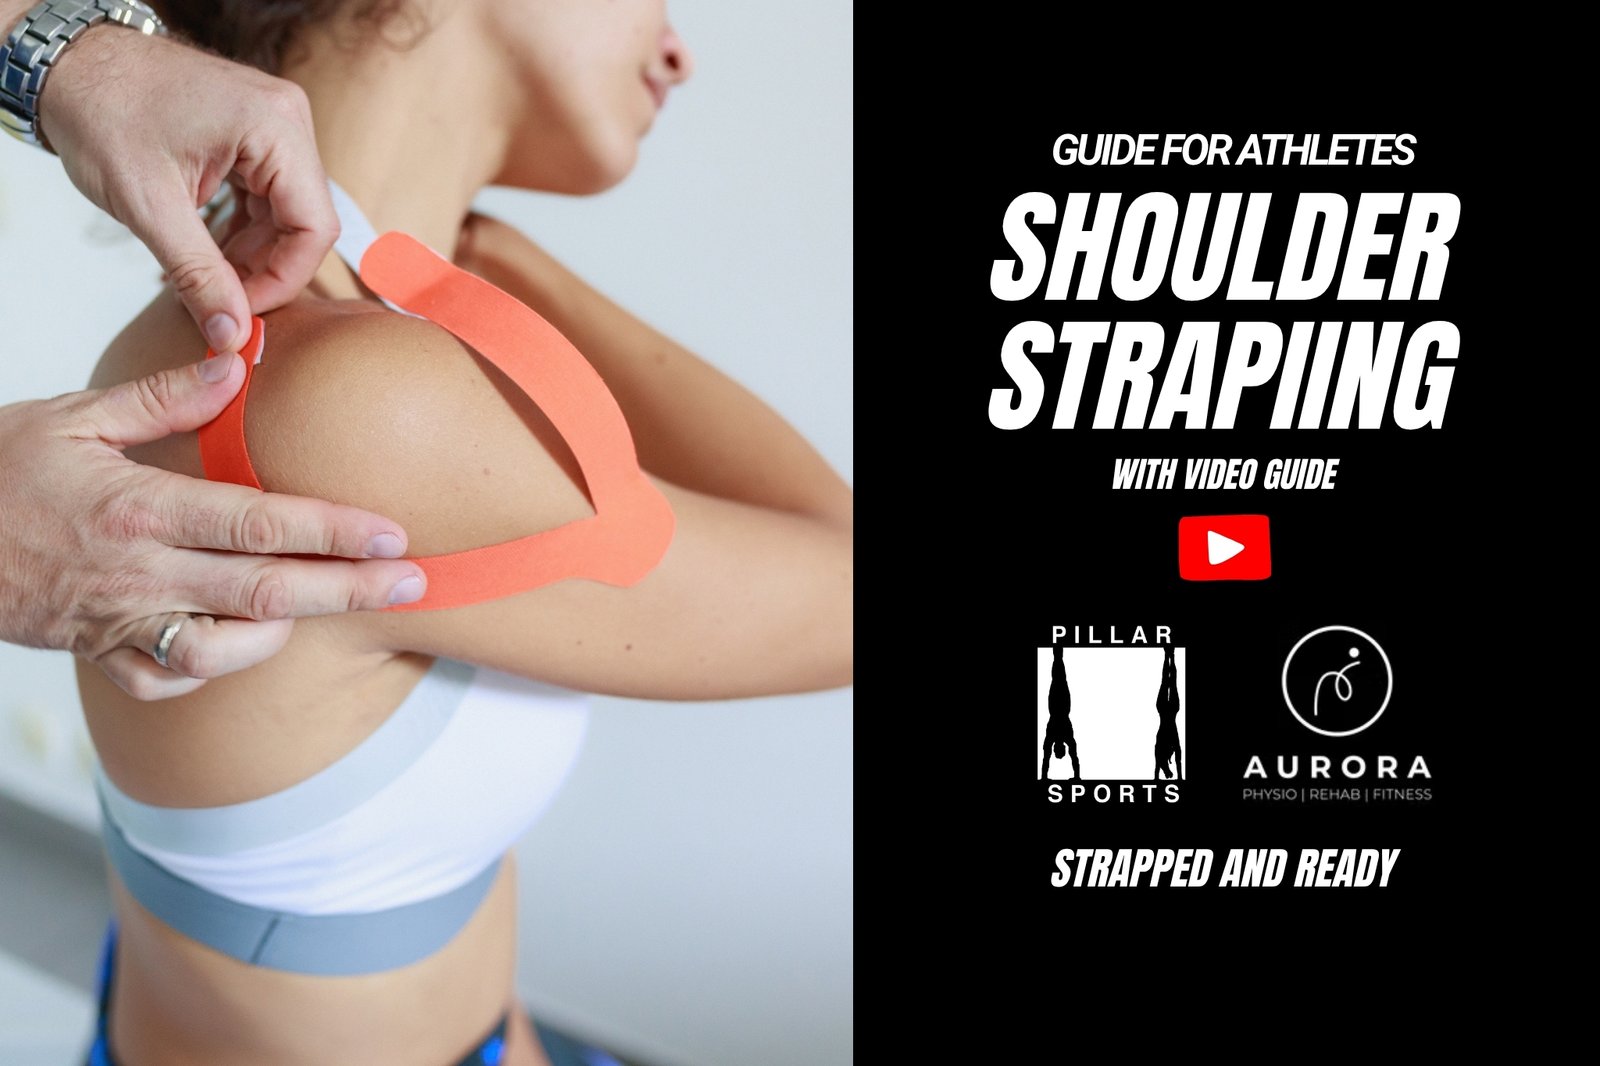
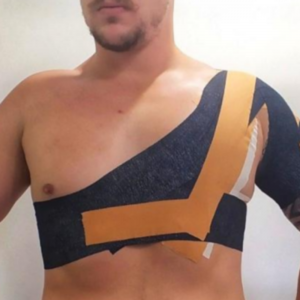
Ensure the skin is clean and dry. Spray pre-tape adhesive onto the skin. Begin with the hand positioned on the hip and the shoulder kept in a good posture. Apply Hypo Fix-it tape as an underlay for the skin.
Apply 2-3 anchor strips from the chest over to the scapula (shoulder blade). Apply anchor strips around the thigh and the lower leg. Repeat 2 times with them overlapping half of the previous strip.
Apply 2 anchor strips around the chest Around to the scapula (shoulder blade) Make sure a deep breath is taken to expand the chest during the taping. Repeat 2 times with them overlapping half of the previous strip.
Apply an anchor strip round the arm around the deltoid muscle insertion. Tense the biceps muscle during the taping to allow the muscles to expand during exercise.
Apply basket-weave tapes starting from the arm and crossed to the top of the shoulder. This tape helps to center the shoulder joint in place.
Apply rotational tapes starting from the front of the shoulder joint, then cross to the back of the arm and then finish the taping by going around the biceps muscles.
These strips of tapes are important to limit external rotation. Check external rotation after taping for desired restriction. Secure the taping with finishing strips the same way as the anchor strips.
Use elastic adhesive bandage (EAB) to close up the tapes. Secure the EAB with a strip of rigid tape.
| Mistake | Impact | Fix |
|---|---|---|
| Wrapping too tightly | Can restrict blood flow and cause discomfort | Always check circulation after taping. |
| Not allowing for muscle expansion | Tape may feel too tight during activity | Ask the athlete to contract muscles while applying anchors. |
| Poor skin prep | Tape peels off quickly | Always clean and dry skin; use adhesive spray if needed. |
Shoulder strapping, when done correctly, can help athletes feel more secure during high-impact or fast-paced sports. Combined with proper warm-up and recovery, it can be a valuable part of your injury management toolkit.
Need reliable sports tape? Browse our full tape collection—delivered fast to Hong Kong, Singapore, and the Philippines.
Most sports tapes can stay on for 1–2 days, but they should be replaced if they get wet, start peeling, or cause skin irritation.
It’s possible, but having a physiotherapist or athletic trainer tape your shoulder is recommended for better technique and comfort.
While strapping can provide support, it’s not specifically designed for soreness. For general relief, kinesiology tape may be more comfortable.
HK$300.00 – HK$500.00Price range: HK$300.00 through HK$500.00
HK$29.00 – HK$52.00Price range: HK$29.00 through HK$52.00

Join 1,000+ athletes already training with Pillar Sports tape.
No spam. Unsubscribe anytime.
Enter your details below. We’ll send the template to your inbox and occasionally share useful kit ordering guides — no spam, unsubscribe anytime.
By downloading you agree to receive occasional emails from Pillar Sports. Unsubscribe anytime.
By submitting this form you agree to our Terms & Conditions and Privacy Policy.