Automatically claim your 4 Free Turf Tape Strips & 1 can of Perskindol Cool Spray if you spend HK$800 on Cart!
Please be very aware that this information is neither intended nor implied to be a substitute for professional medical advice. Always seek the advice of your doctor or other qualified health professional before starting any new treatment or with any questions you may have regarding a medical condition.
Last updated on: March 10, 2026
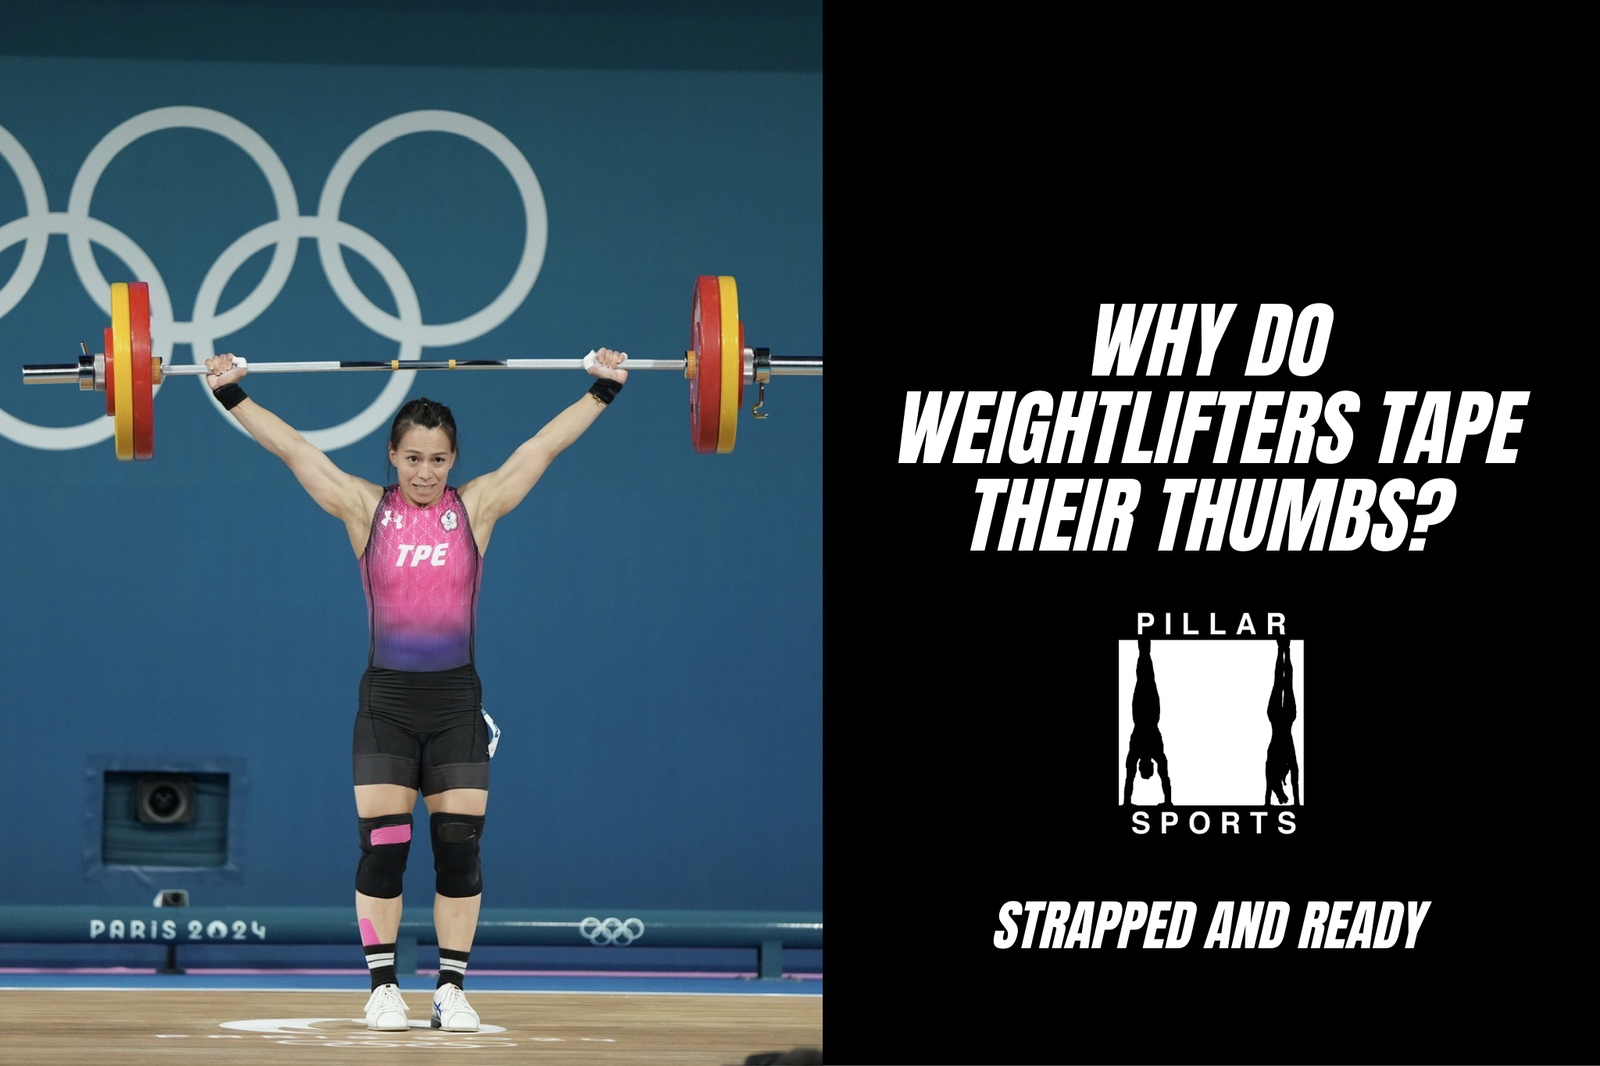
If you watch the Olympics, you’ll notice something about every weightlifter on the platform: their thumbs are mummified.
In Olympic Weightlifting (Snatch and Clean & Jerk), the connection between your hand and the bar is everything. But the friction generated by the barbell can tear the skin off your thumbs in a single heavy session.
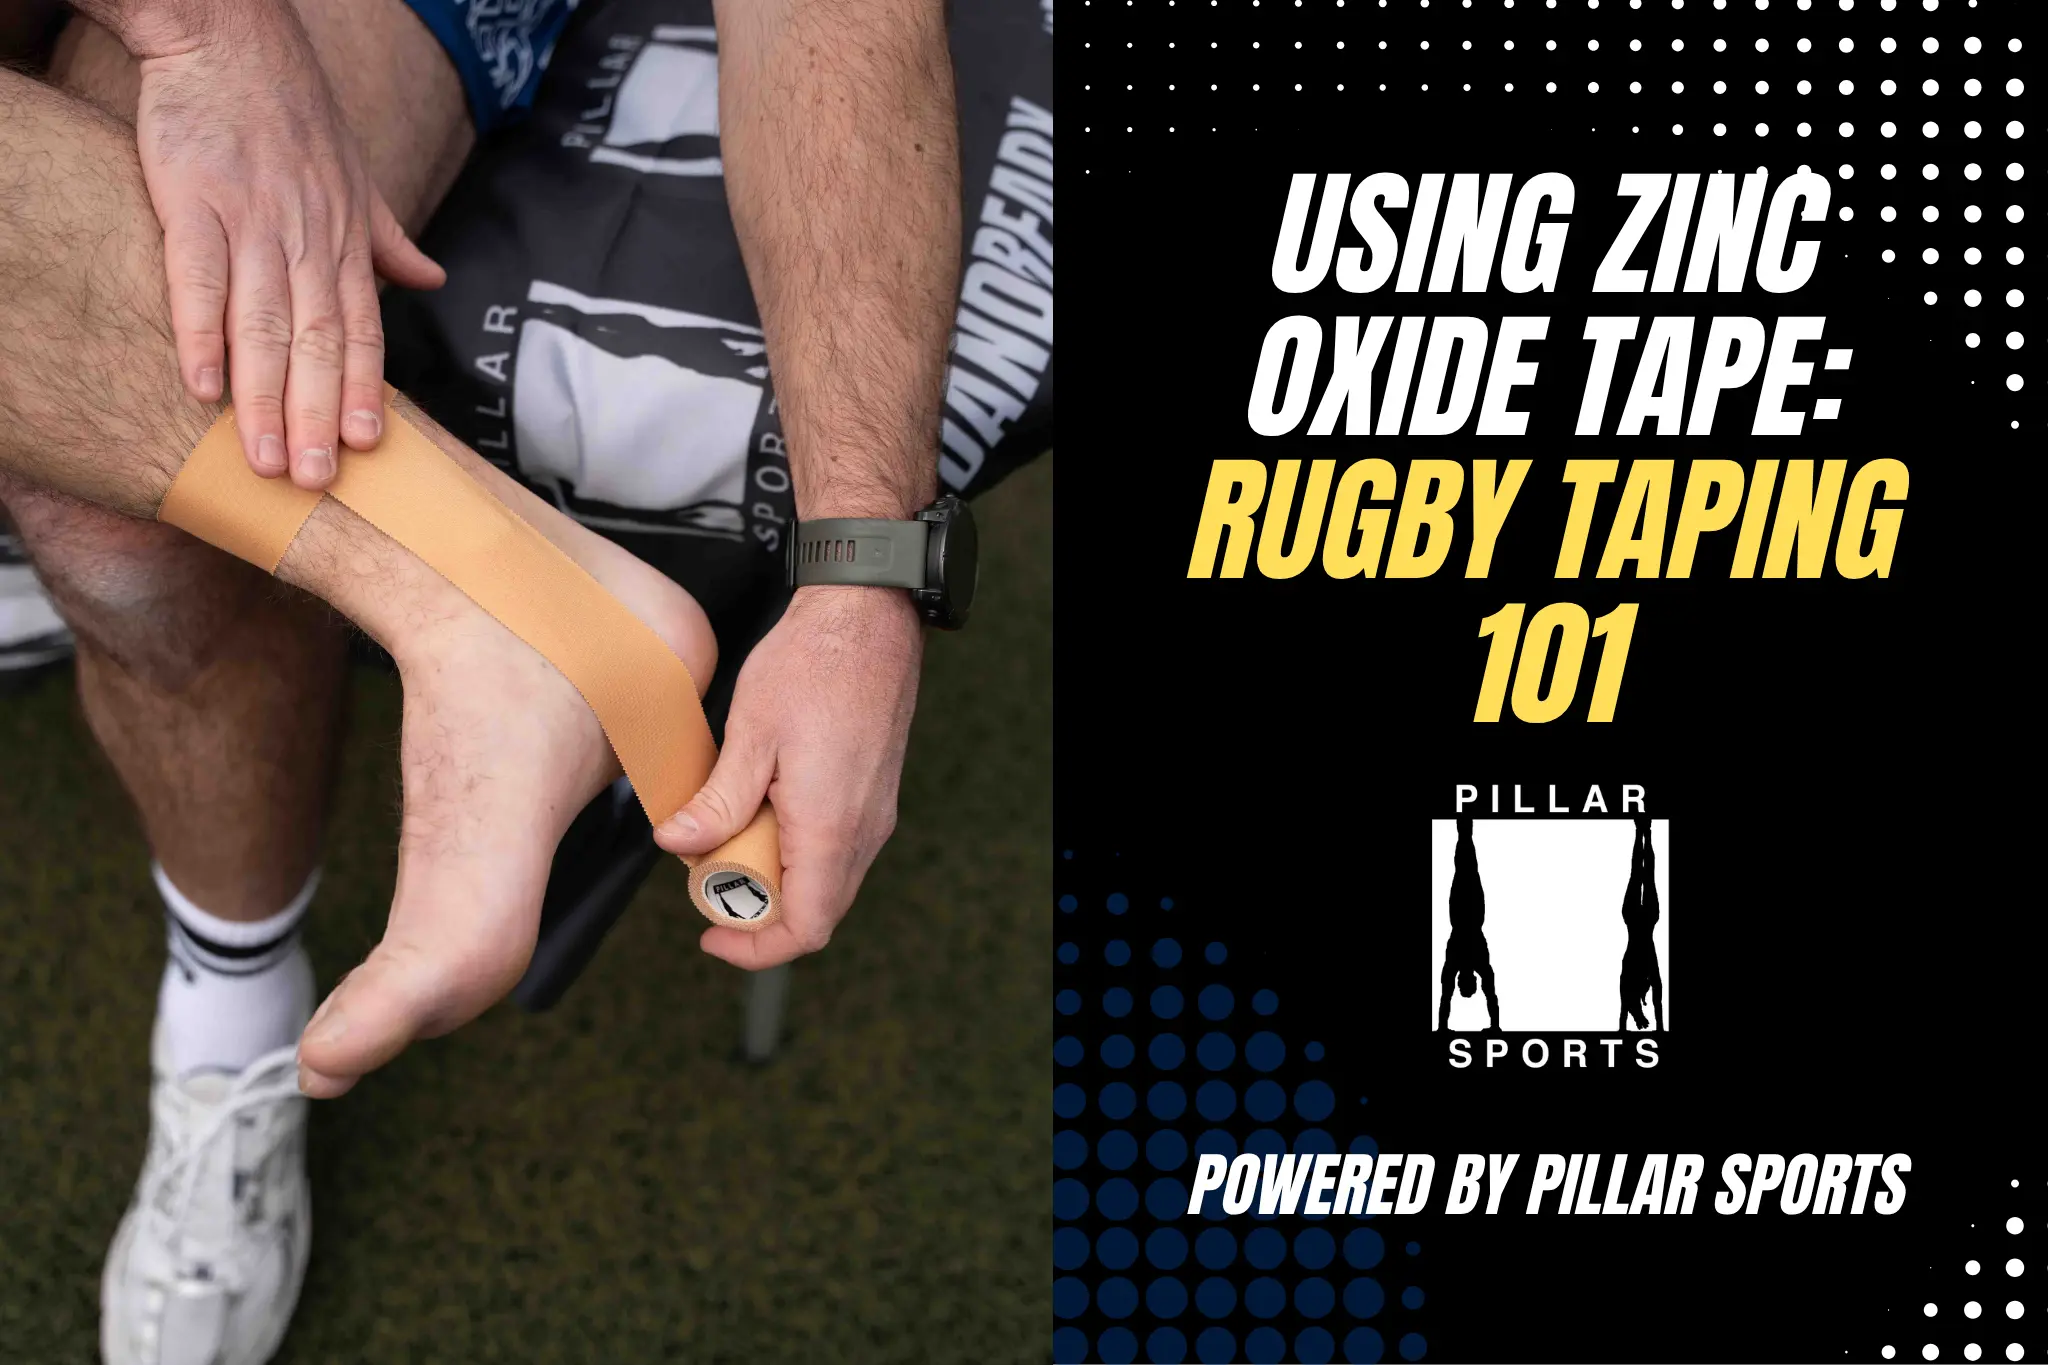
This is the Pillar Sports Guide to Weight Lifting Hand Tape. We’ll cover why the “Hook Grip” demands tape, how to use wide 50mm tape for superior wrist stability, and the right way to protect your palms from tears.
Looking for other taping techniques to different sports? read our blog on the Ultimate Guide to Hand Taping which is more broader version of hand taping!
The reason is the Hook Grip. Unlike a standard deadlift grip where the thumb sits over the fingers, in Olympic lifting, you tuck your thumb under your index and middle fingers.
This locks the bar in place, preventing it from rolling out of your hands during explosive movements. However, it also crushes your thumb against the knurling (the rough metal pattern) of the bar.
Without Weight Lifting Hand Tape, the skin on your thumb will tear, making it impossible to train the next day.
Expert Insight: According to Greg Everett of Catalyst Athletics, arguably the most respected voice in American weightlifting: “Taping the thumb is not about stability; it is about friction and skin protection. You need a tape that is flexible enough to bend, but sticky enough to stay put.”

For the ultimate Hook Grip comfort, you don’t want a thin strip that cuts into your skin. You want coverage. This is where 50mm wide tape becomes your best friend.
Because it’s wider, a single strip covers your entire thumb knuckle. It stretches with your grip, giving you protection without killing your thumb’s mobility.
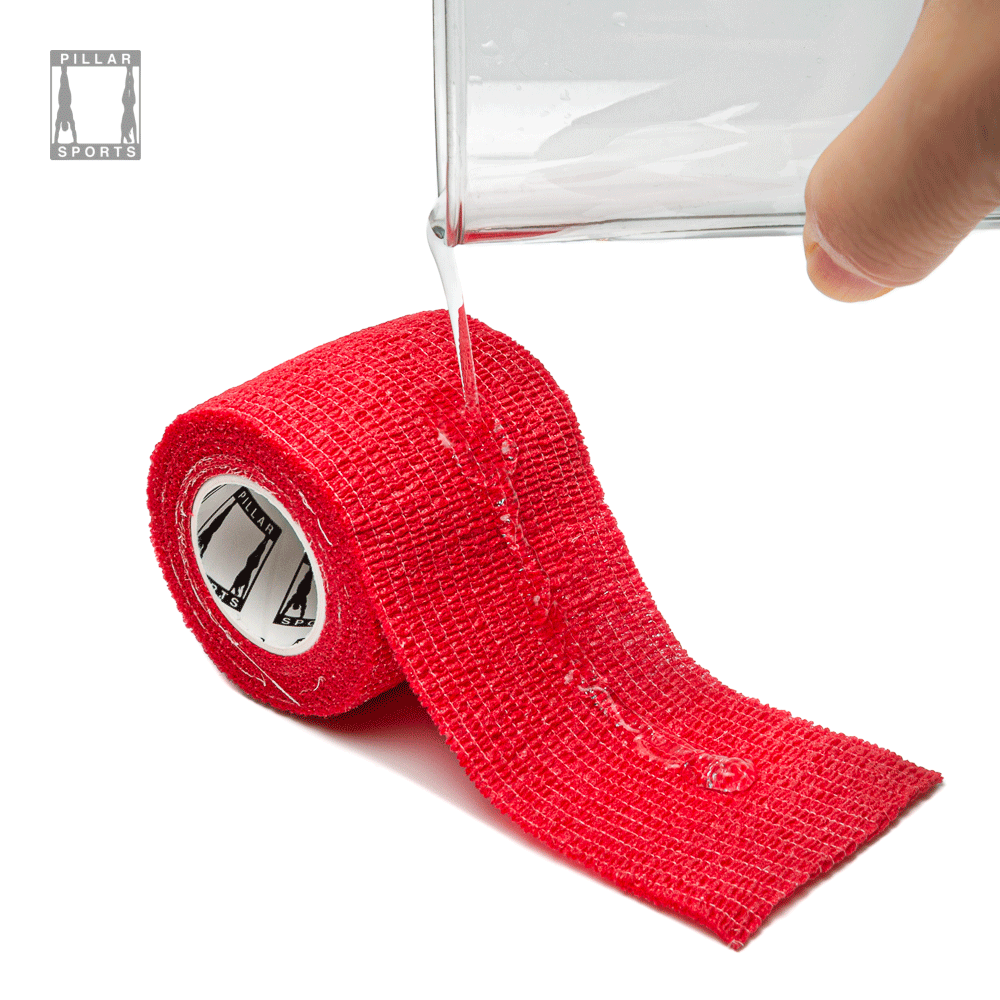
Hate sticky residue? Coband (Cohesive Bandage) sticks only to itself, not your skin. Wrap it once around your thumb for a reusable, sweat-proof shield that comes off in seconds after your set.
This video provides a quick guide on how to use stretchy athletic thumb tape for weightlifting, CrossFit, hook grip, and pull-ups (0:05). The tape protects your thumbs while maintaining mobility (0:08).
Here’s how to apply the thumb tape:
Once applied, the tape will be tight and ready to protect your hand, allowing you to maintain mobility for activities like a hook grip or holding onto a pull-up bar (0:28-0:34).
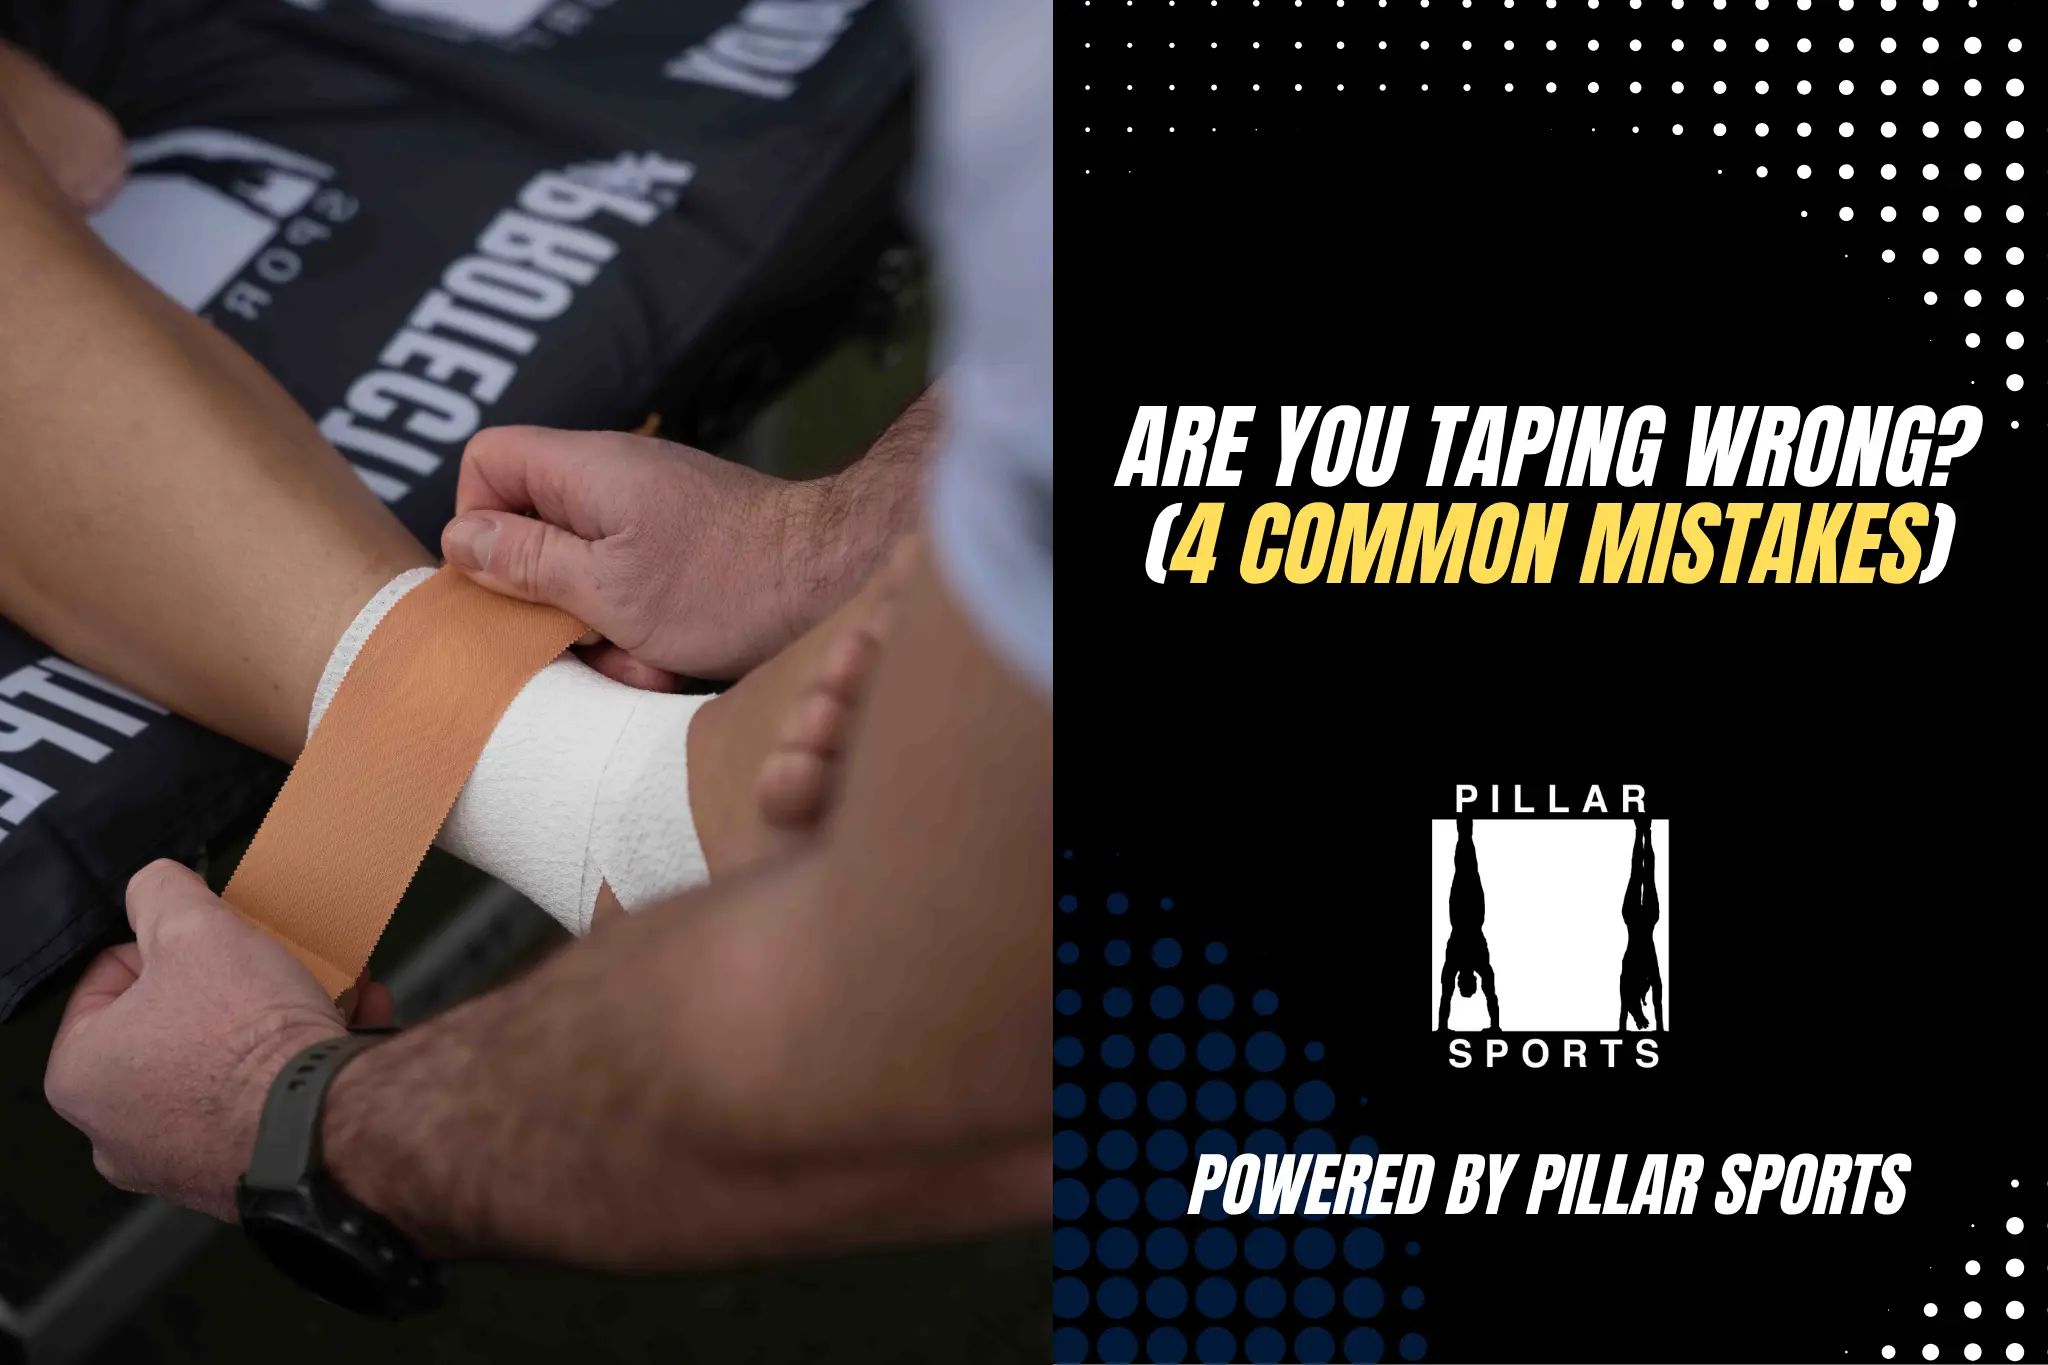
While the thumb needs flexible tape, the wrist needs Rigid Stability.
When you catch a heavy Clean or hold a Snatch overhead, your wrist is forced into extension. If your wrist bends too far back, you lose power and risk a sprain.
Wraps vs. Tape:
When you are catching 100kg+ overhead, you don’t want your wrist to wobble. Thin tape can feel like “string” under heavy load.
Unlike standard 38mm tape, the 50mm width acts like a wide supportive bracelet. It distributes the pressure over a larger area of your wrist, preventing the tape from cutting into your skin while providing the maximum “cast-like” stability you need for PR attempts.
Meghan Cerjan, a UK Healthcare athletic trainer, demonstrates an easy wrist-taping technique for athletes (0:11). She covers the materials needed, the taping process, and the benefits of wrist taping for different sports and injury recovery (1:40).
Here’s a step-by-step guide to wrist taping:
Wrist taping can also be used as a “feel-good remedy” (2:22) for athletes recovering from sprains or other wrist injuries, offering a sense of security and strength.
CrossFitters and weightlifters often tear the skin on their palms (callus tears) during high-rep pull-ups or toes-to-bar.
You don’t need full gloves (which ruin your grip feel). You need a Custom Palm Guard.
How to make it: You need a wide base to cover your callus line. Pillar Sports Rigid 50mm is the perfect width for this. Standard narrow tape will roll up and expose your skin.
We base our taping advice on the standards set by national governing bodies:
Don’t let a torn thumb ruin your snatch session.

Join 1,000+ athletes already training with Pillar Sports tape.
No spam. Unsubscribe anytime.
Enter your details below. We’ll send the template to your inbox and occasionally share useful kit ordering guides — no spam, unsubscribe anytime.
By downloading you agree to receive occasional emails from Pillar Sports. Unsubscribe anytime.
By submitting this form you agree to our Terms & Conditions and Privacy Policy.