Automatically claim your 4 Free Turf Tape Strips & 1 can of Perskindol Cool Spray if you spend HK$800 on Cart!
Please be very aware that this information is neither intended nor implied to be a substitute for professional medical advice. Always seek the advice of your doctor or other qualified health professional before starting any new treatment or with any questions you may have regarding a medical condition.
Last updated on: August 19, 2025
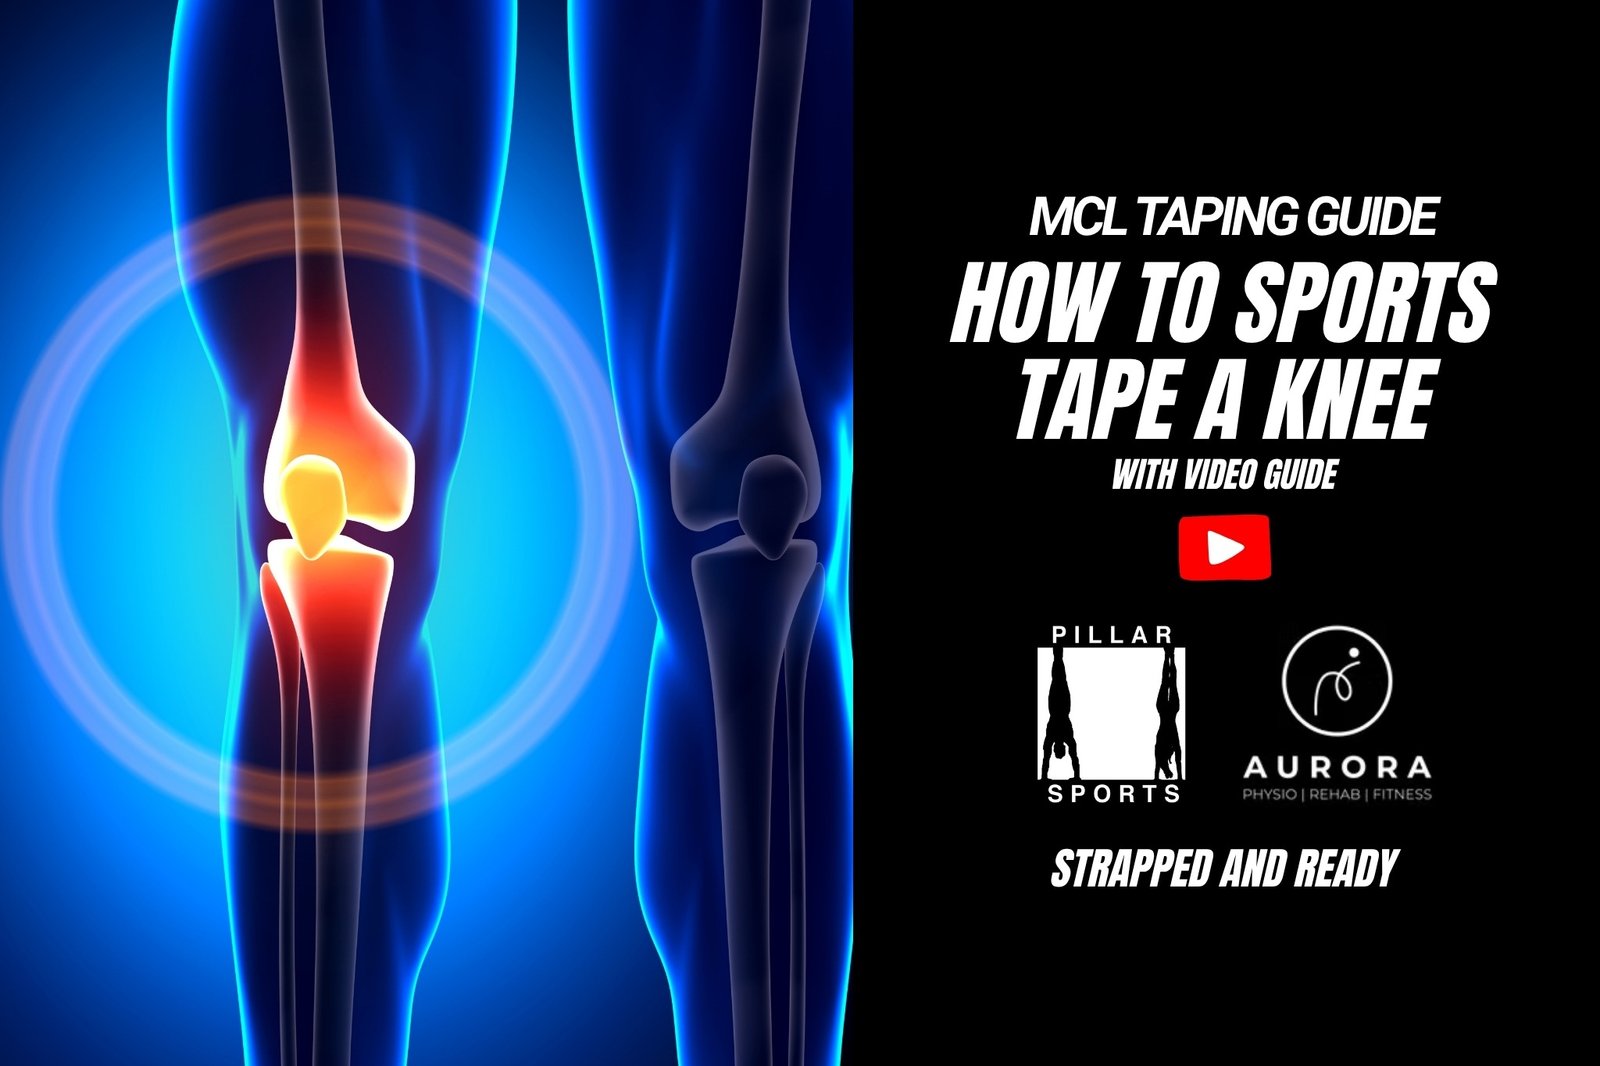
In this guide, we’ll walk you through how to sports tape a knee for MCL support using rigid tape and EAB.
This technique is commonly used in sports medicine to manage mild sprains and support return-to-play efforts. Whether you’re recovering or protecting against future injury, proper MCL strapping can help stabilize the knee and reduce lateral stress.
The medial collateral ligament (MCL) is one of the most commonly injured structures in the knee, especially in sports involving rapid direction changes or contact. An MCL sprain occurs when the ligament is overstretched or partially torn, leading to pain, swelling, and instability on the inside of the knee.
MCL taping helps by:
This technique is often used by athletes in rugby, soccer, hockey, skiing, and American football, where quick side-to-side movement is frequent.
📚 For a clinical overview of MCL injuries and recovery strategies, refer to Cleveland Clinic’s guide on MCL tears.
| Item | Purpose |
|---|---|
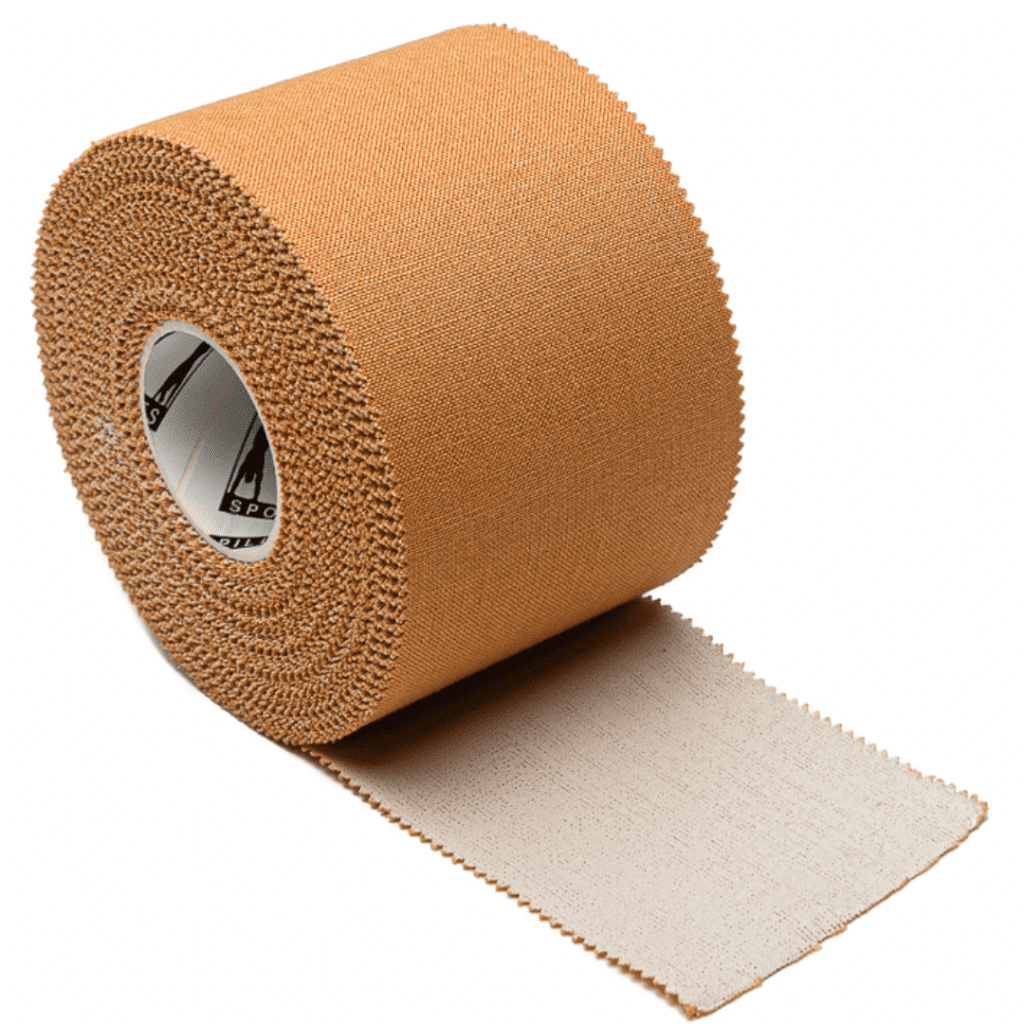
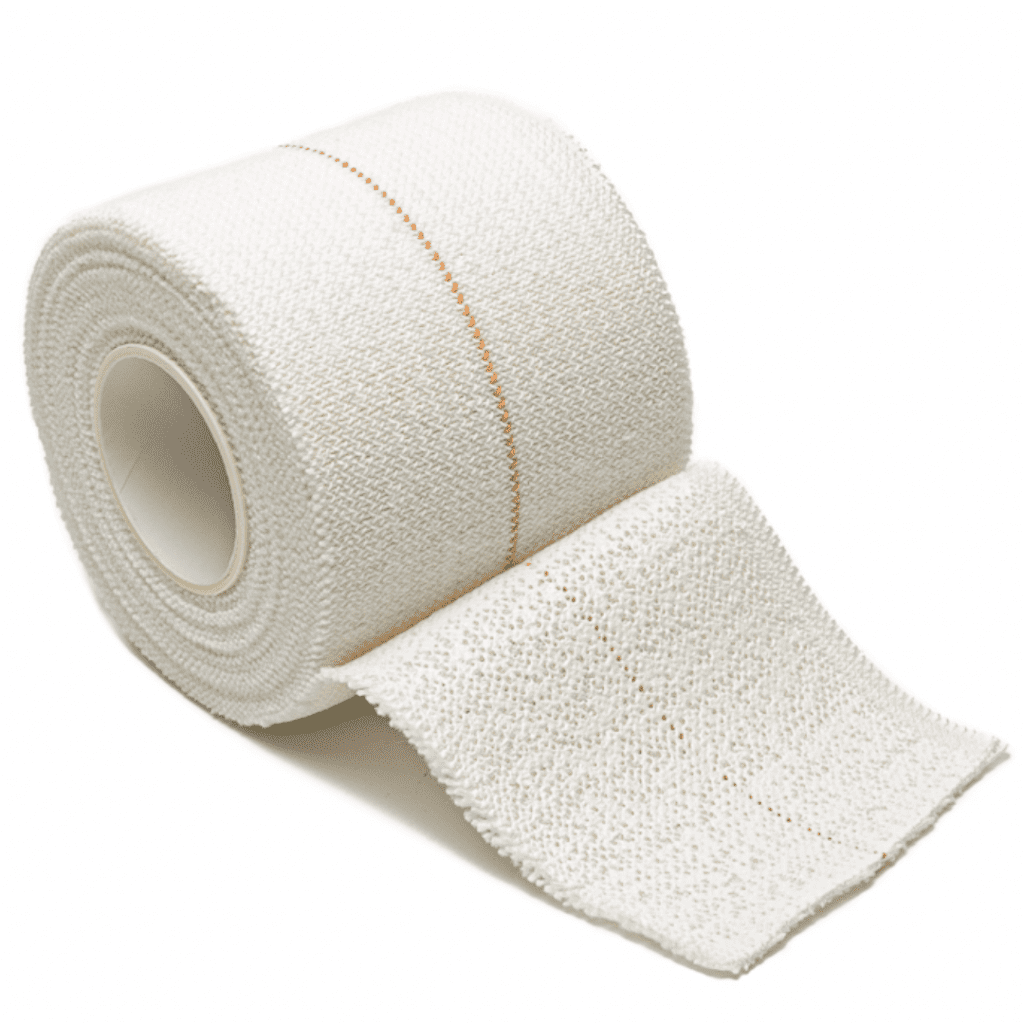
| Rigid sports tape (38 mm or 50 mm) | Main support |
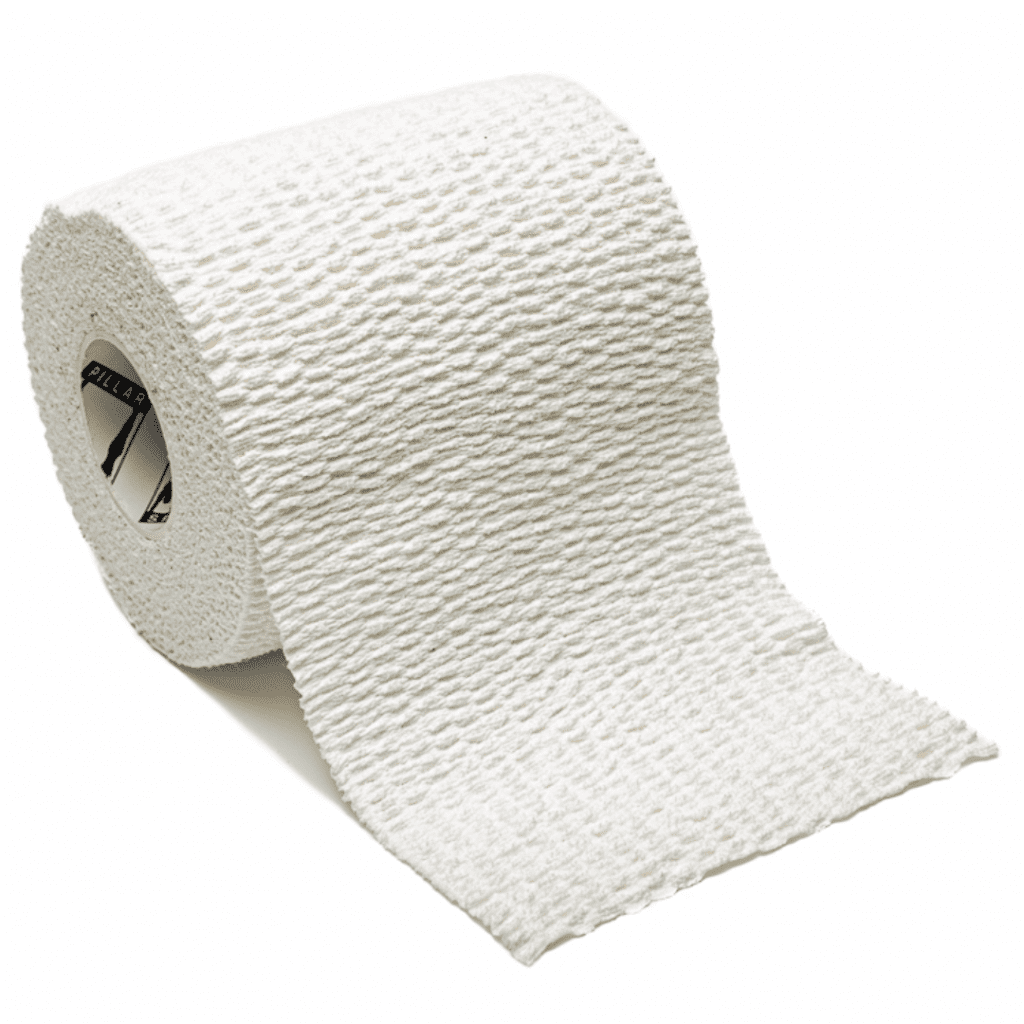
| Elastic Adhesive Bandage (EAB) – 50 mm or 75 mm | Compression and sealing |
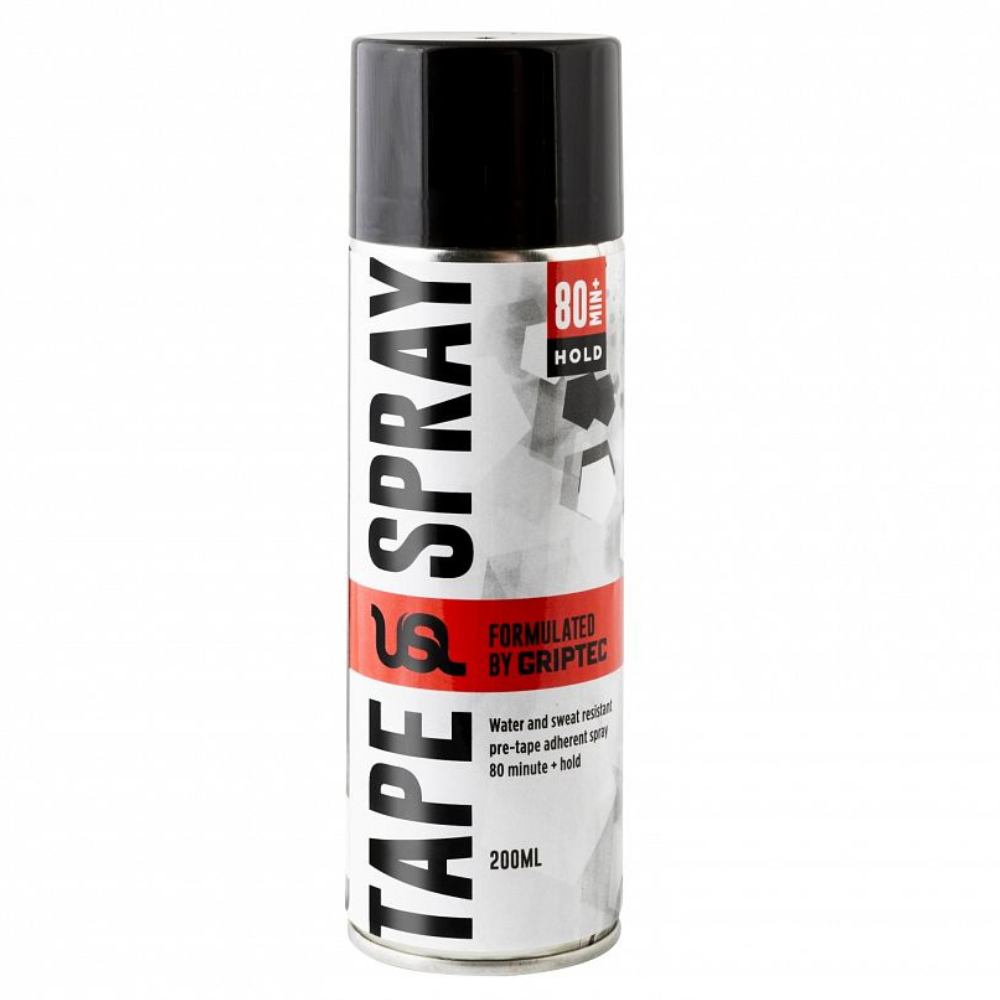
| Adhesive spray (optional) | Improve tape grip, especially in humid environments |
| Razor (optional) | Remove hair for better adhesion |

This taping method is designed to support the MCL and limit valgus (inward) stress on the knee joint. The process below uses rigid tape as the base structure and EAB for final reinforcement.
Important: Contract the quads muscle during the taping to allow the muscles to expand during exercise.
To finish, apply 2 strips of rigid tape to the top and bottom of the knee. This will secure the EAB in place.
| Mistake | Effect | Fix |
|---|---|---|
| No quad contraction during taping | Tape loosens mid-activity | Ask athlete to tense leg |
| Tape placed too high or low | Misses MCL zone | Focus on inner knee, just below joint line |
| Skipping finishing strips | Tape peels off quickly | Always secure the support layers |
| Taping over sweat or lotion | Poor adhesion | Clean and dry skin first |
This technique is specific to the MCL. Other taping methods are used for ACL, PCL, or patellar support.
Rigid tape is typically worn during activity and removed after. Never leave tape on overnight.
You can apply tape on yourself, but having a second person ensures better angles and tension control.
Both serve different purposes. Tape is lightweight and customizable. Braces offer rigid, passive support.
Absolutely. Taping is a support tool, not a replacement for strengthening or physiotherapy.
Pillar Sports carries rigid tape and elastic adhesive bandages trusted by pro teams and athletic trainers.
Special thanks to Aurora Physiotherapy for providing expert taping content.
Visit them at www.auroraphysio.com.hk
Sources:
HK$300.00 – HK$500.00Price range: HK$300.00 through HK$500.00

Join 1,000+ athletes already training with Pillar Sports tape.
No spam. Unsubscribe anytime.