The collaboration between Pillar Sports and Aurora Physiotherapy brings you our second part of the ‘How To’ Tape Series. The following information will provide you with a step by step guide on Strapping the Knee the right way. Specifically, we will show you how to support the medial collateral ligament (MCL) after injury. Enabling a safer return to sports and exercise.
Although injuries to the MCL can be severe and require a long time away from sports and exercise, a common injury which we see time and time again is an MCL sprain. This is when the ligament stretches past its normal function and results in a small tear to the ligament causing pain and instability.
Tapping can be effective in two ways; Protect and treat an existing injury and to Prevent further injury by supporting the joints and ligaments. Sports that are common with this type of injury are ones that require quick side to side movement such as Rugby, Soccer, Hockey, Skiing, American football… the list goes on!
MCL Strapping Steps
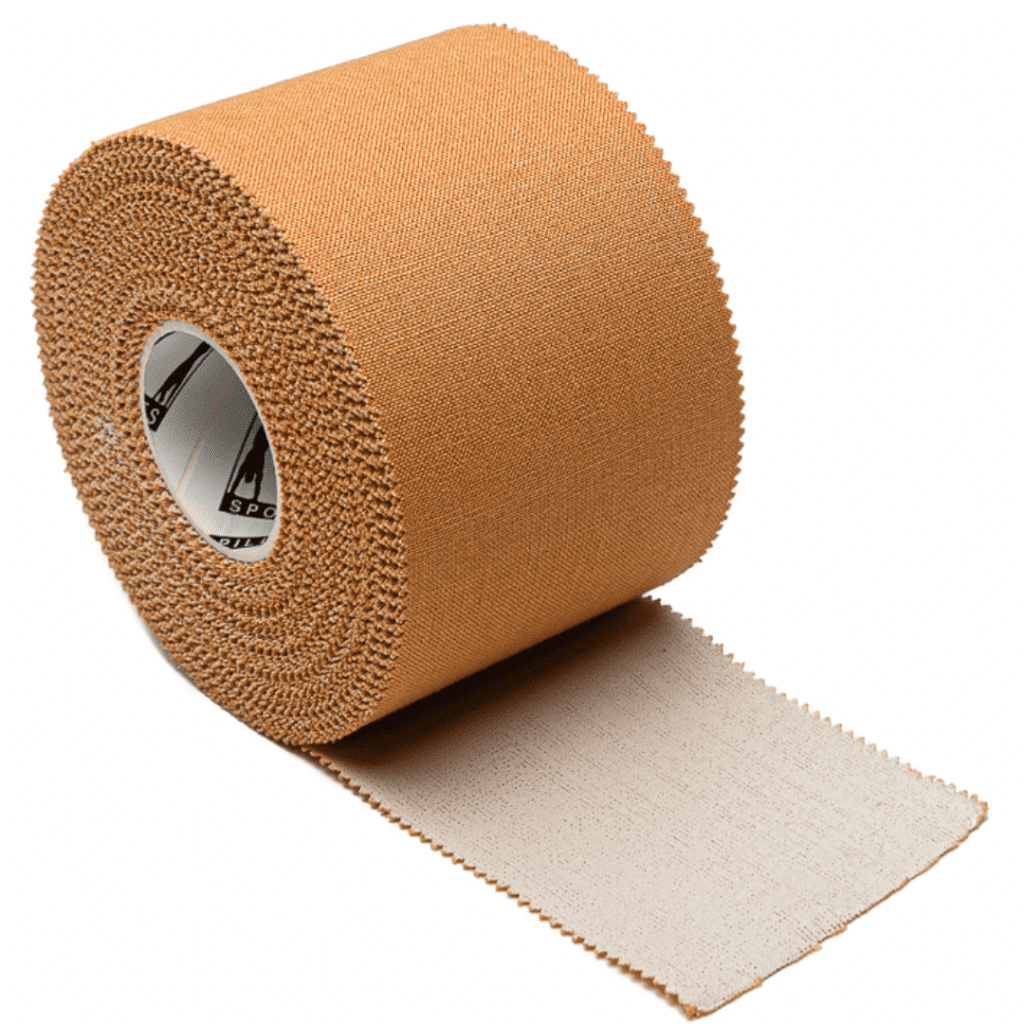
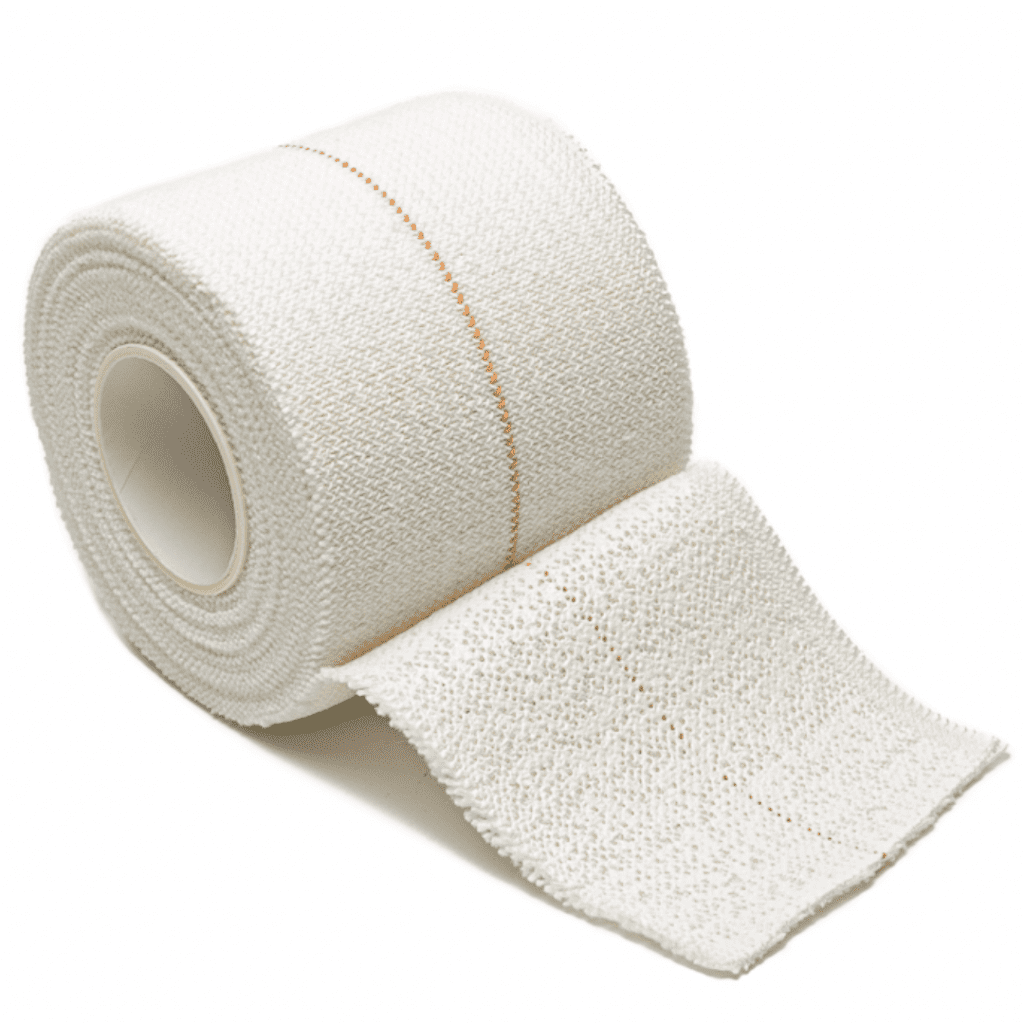
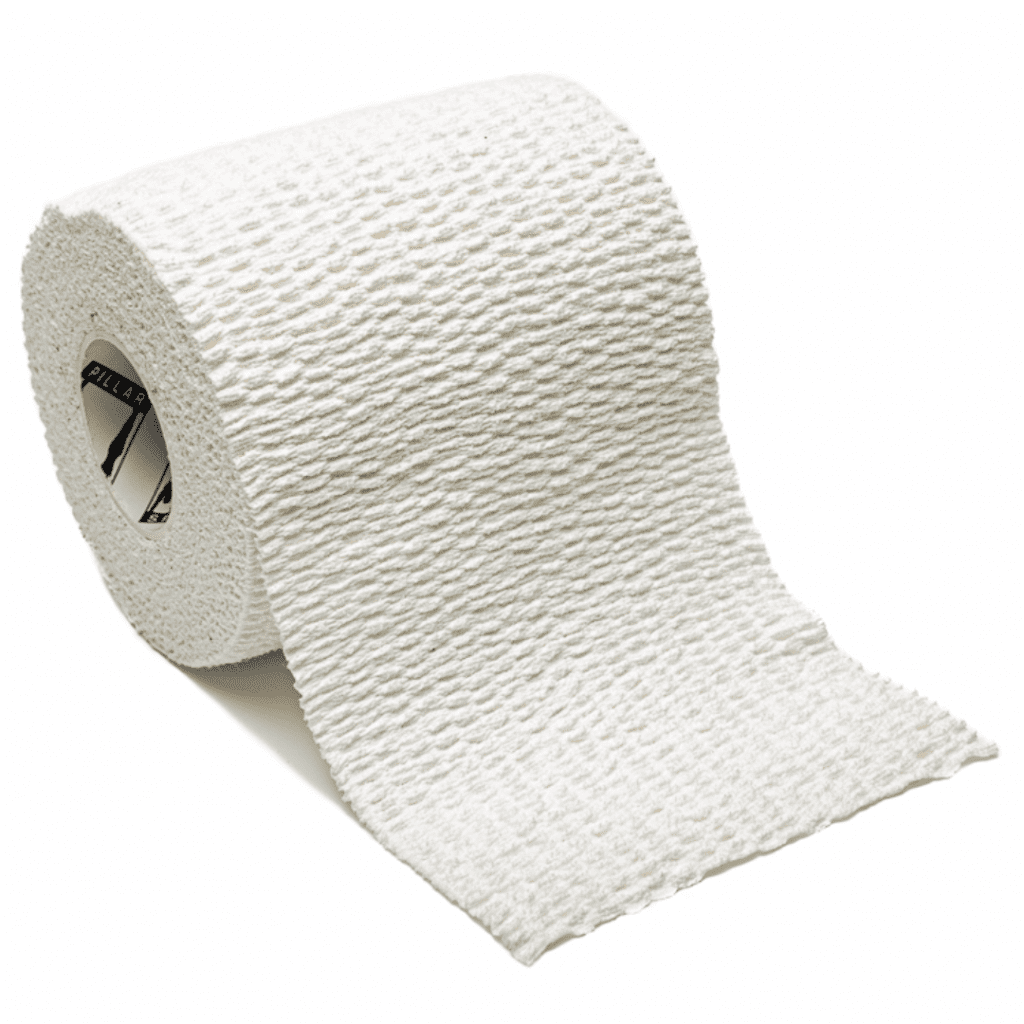
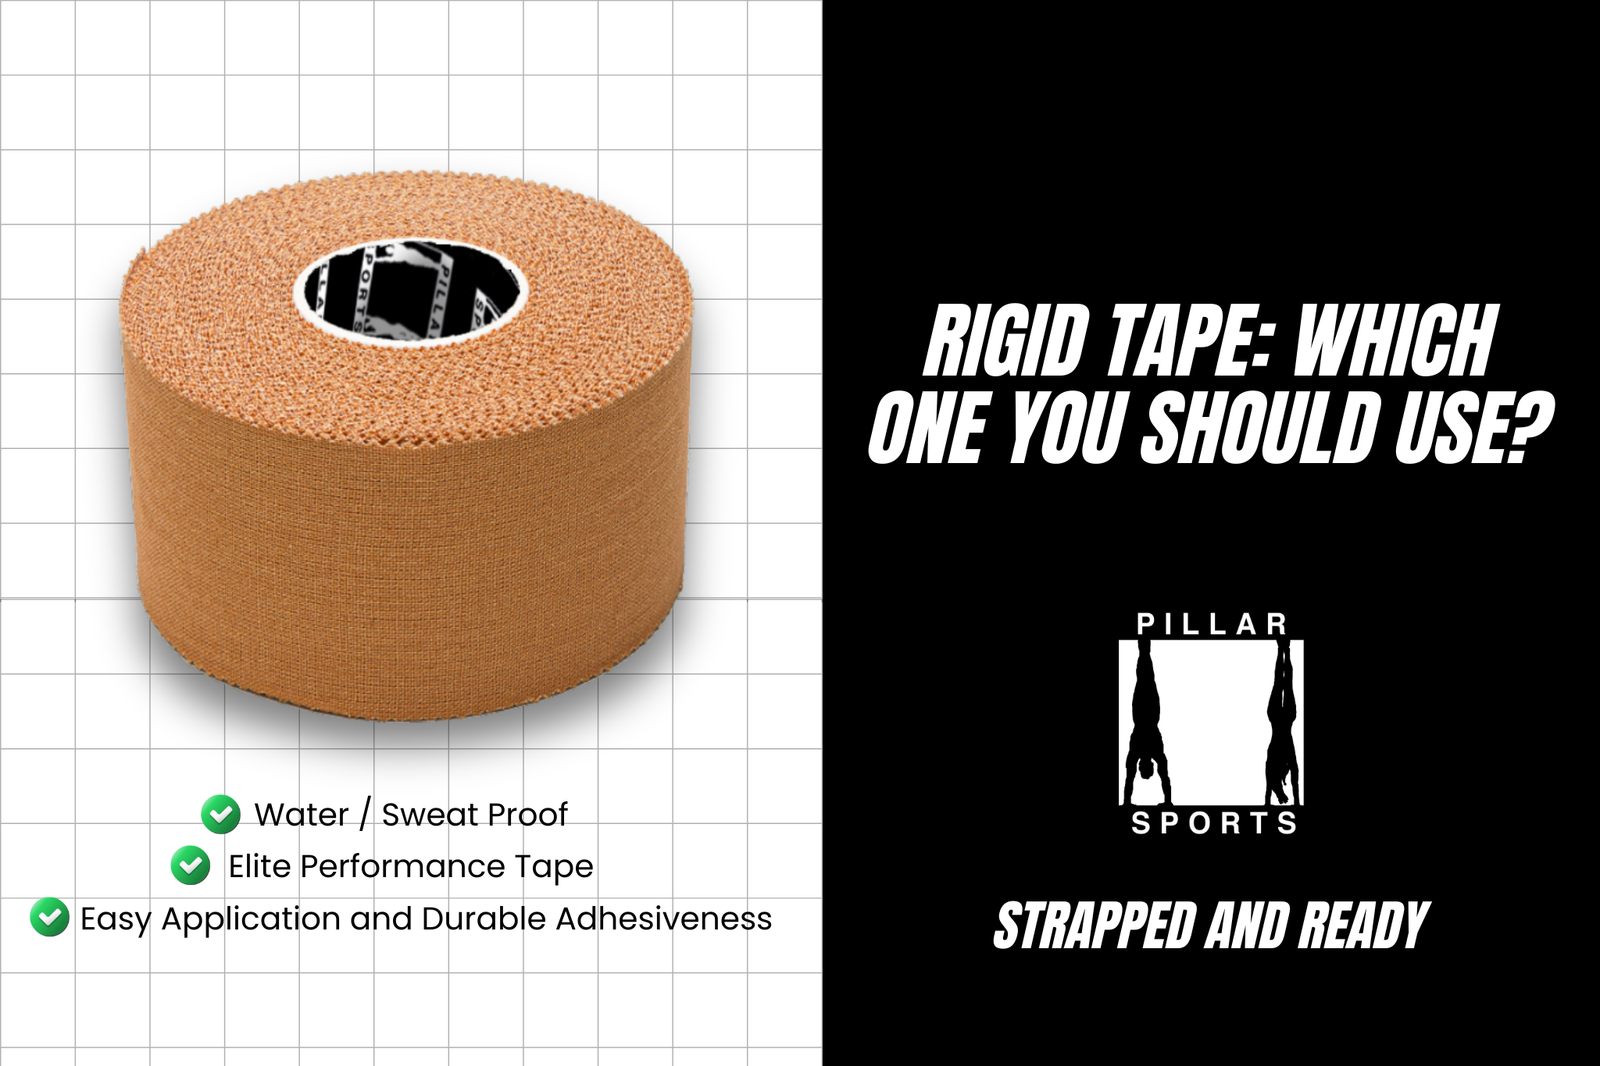
The aim of this taping is to prevent and protect the knee from further injury to the MCL. The tape helps to stabilize the joint and prevent sideways movement to the knee which can result in further injury. We recommend the use of Rigid Tape. The 38mm range is most commonly used but 50mm is an option dependent on personal preference and comfort. Then to seal off and add further protection we recommend using Elastic Adhesive Bandage (EAB). Once again, the most common sizes are the 75mm and 50mm range.
Desired Support Accessories (Not always necessary)
Shave the hairs around the knee (where the strapping will go) to increase tape adhesion to the skin.
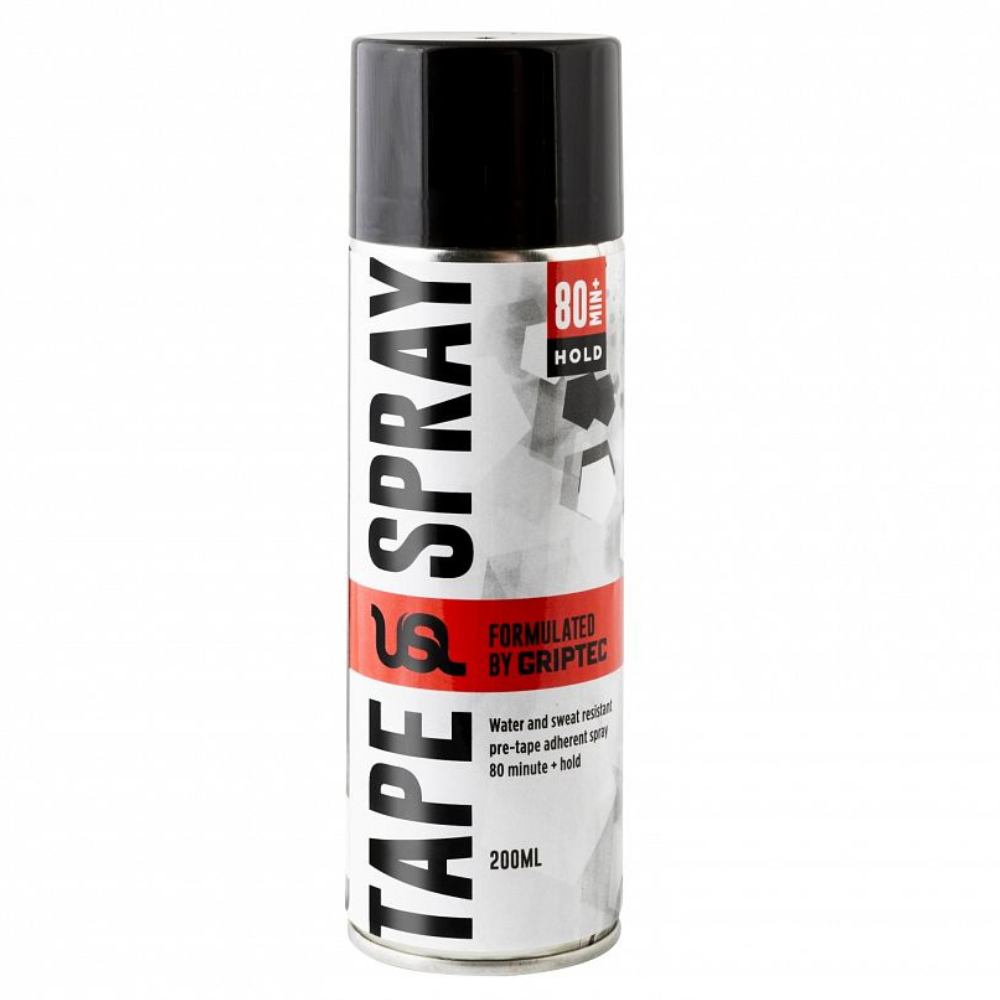
Apply an adhesive spray – Spray around the knee joint and upper/lower leg to increase the effectiveness of the Strapping.
Step 1 – Anchoring Tape
Ensure the skin is clean and dry. Place the knee in a slightly flexed position. Apply anchor strips around the thigh and the lower leg. Repeat 2 times with them overlapping half of the previous strip.
Important: Contract the quads muscle during the taping to allow the muscles to expand during exercise.
Step 2 – Add Support Strips
Apply support strips on the inside of the knee in crossed shape to provide support to the MCL. Repeat 2-3 times of this application overlapping half of the previous strip. Ensure that the strips have even tension to help avoid the knee sliding. This will also protect the knee from hyper-extension.
Step 3 – Finishing Strips
Apply finishing strips the same way as the anchor strips. This will help to secure the support strips and stop them from coming off. Again Repeat 2 times for upper and lower leg.
Step 4 – Figure of 8 Protection (EAB)
Now that you have followed Steps 1 to 3, it is time to complete the taping process. Starting at the top strip, use the EAB to wrap around the anchor, then aim diagonally down across the MCL and around the bottom strip. Repeat this process continuously 2-3 times until all rigid tape is covered.
To finish, apply 2 strips of rigid tape to the top and bottom of the knee. This will secure the EAB in place.
Finishing steps (ESSENTIAL)
Check that the taping is not uncomfortable for either yourself or person being strapped.
Check that the tape prevents and restricts valgus movement of the knee.
Remember… knee strapping can help to prevent injury as well as protect and treat any existing injuries. Therefore, if you follow the steps provided and watch the educational ‘How To’ videos you will be able to strap the MCL in no time.
Tape Series: Part 2 Knee Strapping. (MCL)
The collaboration between Pillar Sports and Aurora Physiotherapy brings you our second part of the ‘How To’ Tape Series. The following information will provide you with a step by step guide on Strapping the Knee the right way. Specifically, we will show you how to support the medial collateral ligament (MCL) after injury. Enabling a safer return to sports and exercise.
Although injuries to the MCL can be severe and require a long time away from sports and exercise, a common injury which we see time and time again is an MCL sprain. This is when the ligament stretches past its normal function and results in a small tear to the ligament causing pain and instability.
Tapping can be effective in two ways; Protect and treat an existing injury and to Prevent further injury by supporting the joints and ligaments. Sports that are common with this type of injury are ones that require quick side to side movement such as Rugby, Soccer, Hockey, Skiing, American football… the list goes on!
MCL Strapping Steps
The aim of this taping is to prevent and protect the knee from further injury to the MCL. The tape helps to stabilize the joint and prevent sideways movement to the knee which can result in further injury. We recommend the use of Rigid Tape. The 38mm range is most commonly used but 50mm is an option dependent on personal preference and comfort. Then to seal off and add further protection we recommend using Elastic Adhesive Bandage (EAB). Once again, the most common sizes are the 75mm and 50mm range.
Desired Support Accessories (Not always necessary)
Step 1 – Anchoring Tape
Ensure the skin is clean and dry. Place the knee in a slightly flexed position. Apply anchor strips around the thigh and the lower leg. Repeat 2 times with them overlapping half of the previous strip.
Important: Contract the quads muscle during the taping to allow the muscles to expand during exercise.
Step 2 – Add Support Strips
Apply support strips on the inside of the knee in crossed shape to provide support to the MCL. Repeat 2-3 times of this application overlapping half of the previous strip. Ensure that the strips have even tension to help avoid the knee sliding. This will also protect the knee from hyper-extension.
Step 3 – Finishing Strips
Apply finishing strips the same way as the anchor strips. This will help to secure the support strips and stop them from coming off. Again Repeat 2 times for upper and lower leg.
Step 4 – Figure of 8 Protection (EAB)
Now that you have followed Steps 1 to 3, it is time to complete the taping process. Starting at the top strip, use the EAB to wrap around the anchor, then aim diagonally down across the MCL and around the bottom strip. Repeat this process continuously 2-3 times until all rigid tape is covered.
To finish, apply 2 strips of rigid tape to the top and bottom of the knee. This will secure the EAB in place.
Finishing steps (ESSENTIAL)
Remember… knee strapping can help to prevent injury as well as protect and treat any existing injuries. Therefore, if you follow the steps provided and watch the educational ‘How To’ videos you will be able to strap the MCL in no time.
Stay tuned for the next Educational Taping blog.
#strappedandready