Automatically claim your 4 Free Turf Tape Strips & 1 can of Perskindol Cool Spray if you spend HK$800 on Cart!
Please be very aware that this information is neither intended nor implied to be a substitute for professional medical advice. Always seek the advice of your doctor or other qualified health professional before starting any new treatment or with any questions you may have regarding a medical condition.
Last updated on: June 17, 2026
Your hands jam on a tackle, thumb bends the wrong way at a lineout and your ankle rolls on an uneven pitch. If you play rugby regularly, at least one of these has happened to you this season — probably more than once.
Zinc oxide tape is what most club players reach for when they want to protect these areas and get back on the pitch. Not because it’s the only option, but because it works. It’s firm, it stays put, and when applied correctly it gives you meaningful support without restricting the movement you need to actually play.
This guide covers the three injury sites where zinc oxide tape for rugby players earns its place in your kit bag: hands and fingers, thumbs, and ankles.
Before getting into technique, it’s worth understanding why zinc oxide sports tape is the default choice for rugby rather than elastic or kinesiology tape.
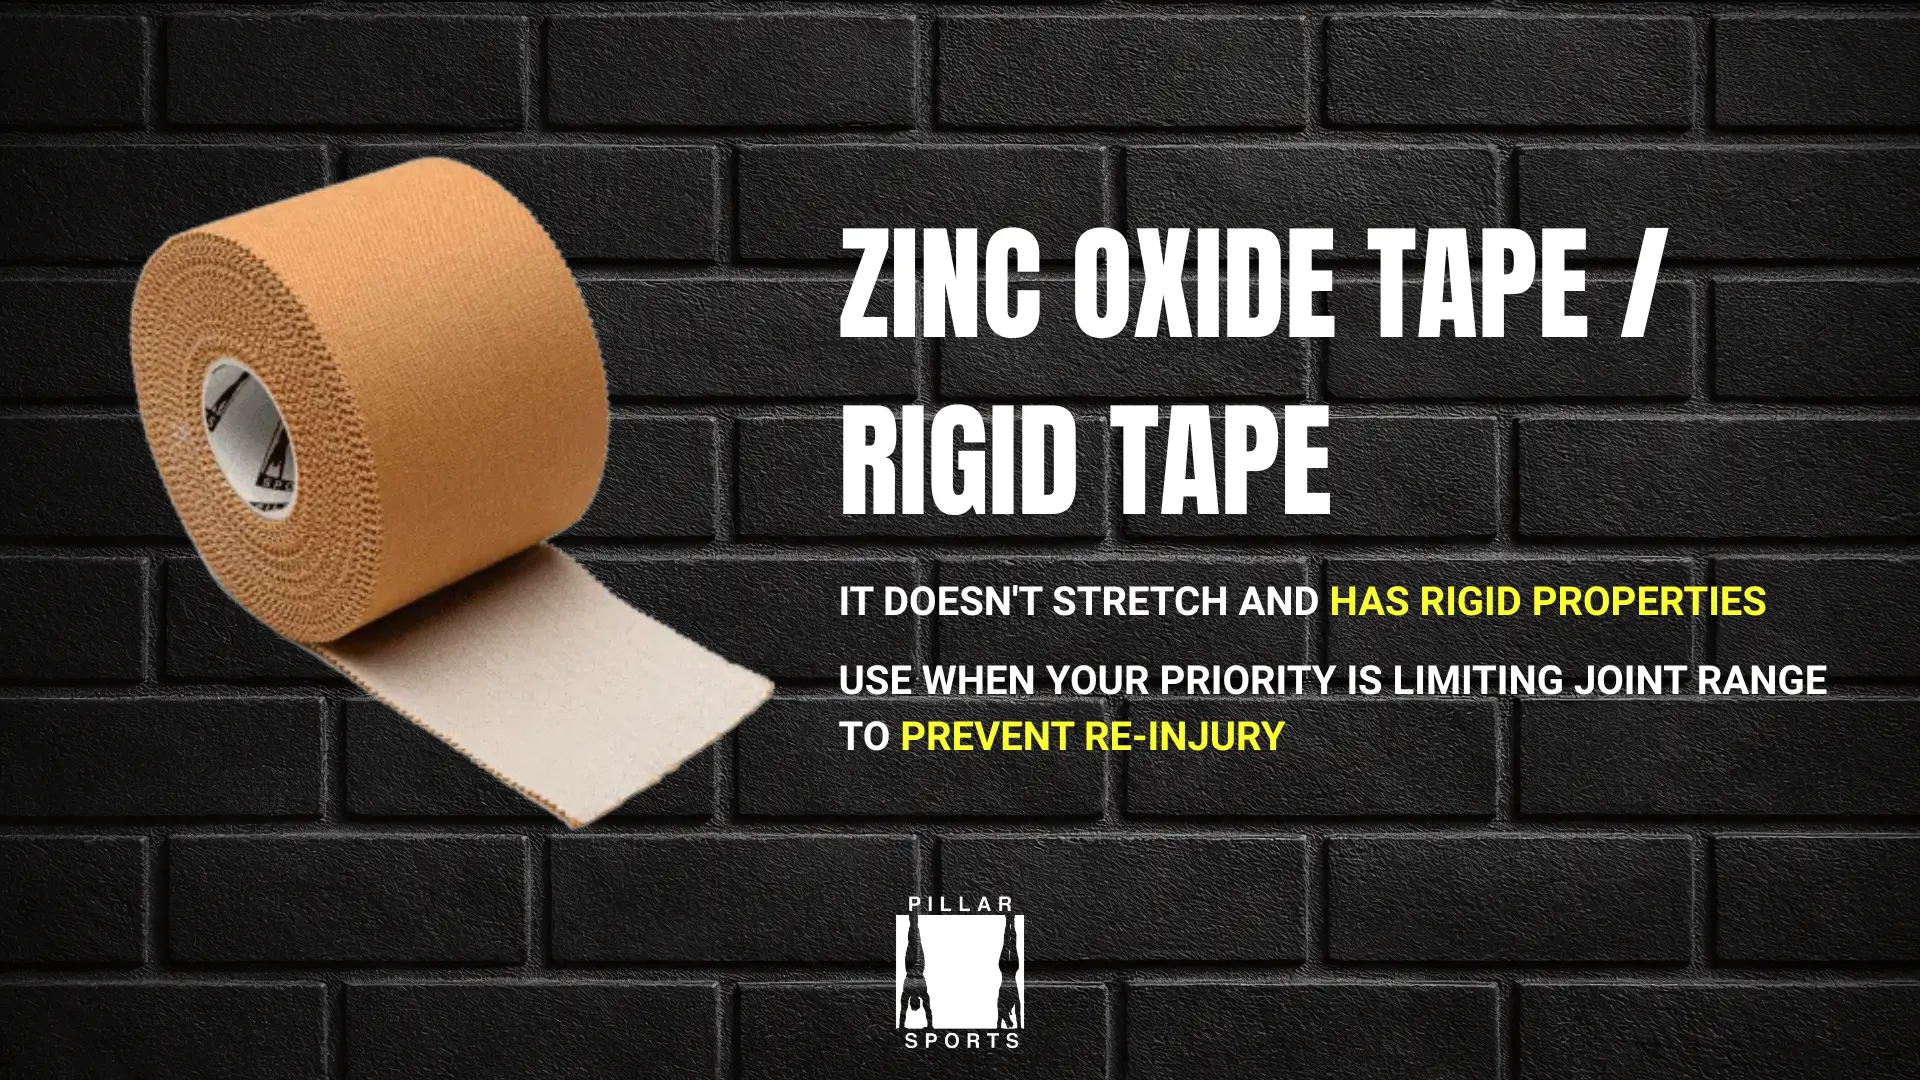
Zinc oxide tape is rigid. It doesn’t stretch and has rigid properties. That’s the point. In a contact sport where hands are constantly gripping, fingers are constantly bending under load, and ankles are absorbing lateral force, you want a tape that resists movement rather than accommodates it. Elastic tape has its uses — kinesiology tape works well for muscle support and proprioceptive feedback — but when your priority is limiting joint range to prevent re-injury, rigid sports tape is what you want.
It adheres reliably under sweat and friction. Rugby is a wet, physical game. A tape that loses its bond after twenty minutes of play is useless. Quality zinc oxide sports tape uses zinc oxide as the active adhesive compound, which maintains its grip in humid conditions better than most synthetic adhesives.
It cuts cleanly and tears easily by hand. No scissors needed on the sideline. You can cut strips to the exact length you want and tear them without fraying.
Zinc oxide tape is especially popular in rugby, football, martial arts, boxing, and basketball — any sport that puts repeated stress on hands, fingers, and ankle joints.
If you’re unsure where zinc oxide tape sits in relation to other taping options, the Sports Taping Guide: 5 Types Every Athlete Should Know gives a clear breakdown of when each type is the right call.
These principles apply regardless of which body part you’re taping.
Pro Tip: Warm the skin slightly before taping — either with your hands or a brief heat pack — to help the adhesive bond faster and more evenly, especially on cold pitch-side mornings.
Hand injuries are endemic in rugby. Fingers get jammed in rucks, bent in tackles, and crushed in mauls. Zinc oxide tape won’t prevent all of that, but it can reduce the severity of hyperextension injuries and protect a damaged finger during play.
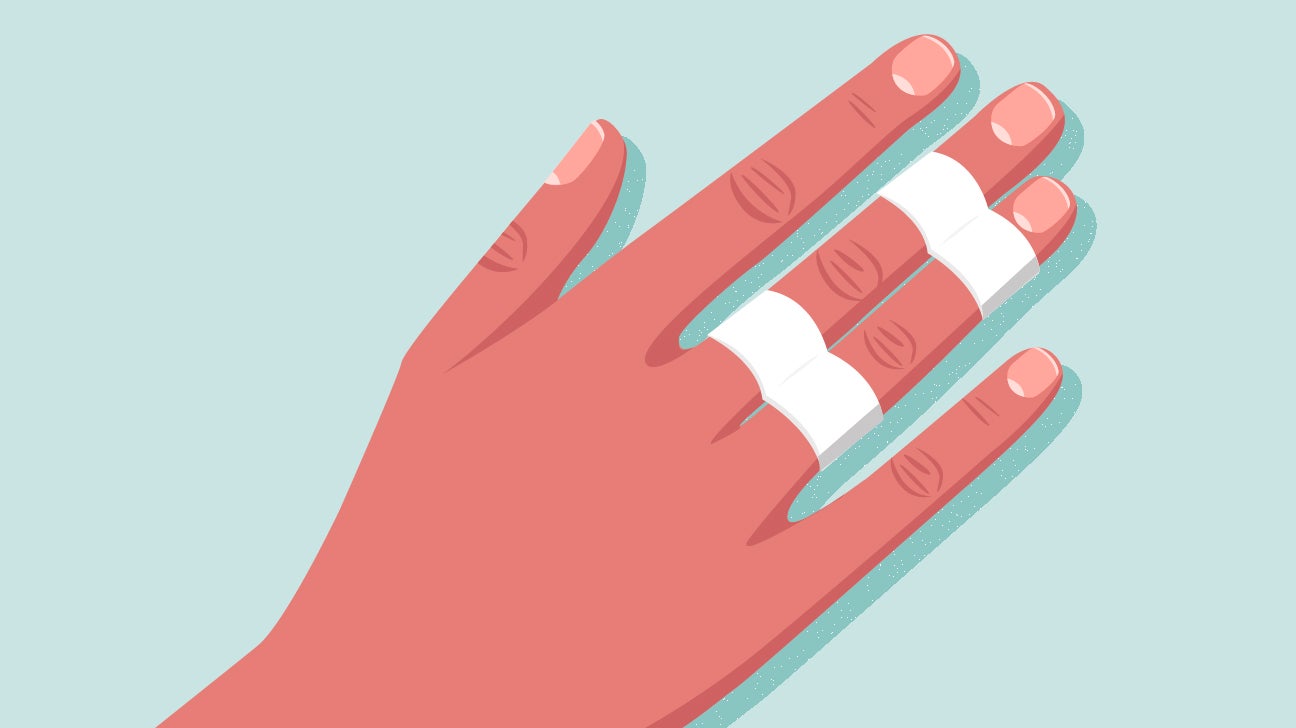
Buddy taping connects an injured finger to the adjacent healthy finger, using it as a natural splint. This is the most common hand taping technique for rugby players dealing with a sprained or previously fractured finger.
If you have a finger that has hyperextended before and you want to prevent a repeat, a single reinforcement strip along the back of the finger joint adds resistance against backward bending.
For more detail on hand taping approaches across fingers, thumbs, and wrists, The Ultimate Guide to Hand Taping: Fingers, Thumbs & Wrists covers the full range of techniques.
Thumb injuries are one of the most common presenting complaints in rugby, particularly among props, hookers for grip and backs who handle the ball under pressure. The ligament that most often gets damaged is the ulnar collateral ligament at the base of the thumb — the one that resists the thumb being forced away from the hand sideways. When this ligament is overstretched or partially torn, it’s sometimes called a gamekeeper’s thumb or skier’s thumb.
Zinc oxide tape can protect a recovering thumb or reinforce a healthy one against this kind of lateral force.
The goal is to limit sideways movement at the metacarpophalangeal joint (the base joint of the thumb) while still allowing you to grip, catch, and pass with reasonable freedom.
For a full technique breakdown with visual guidance, Thumb Taping for Hyperextension Support covers this in more depth, including variations for players with more significant instability.
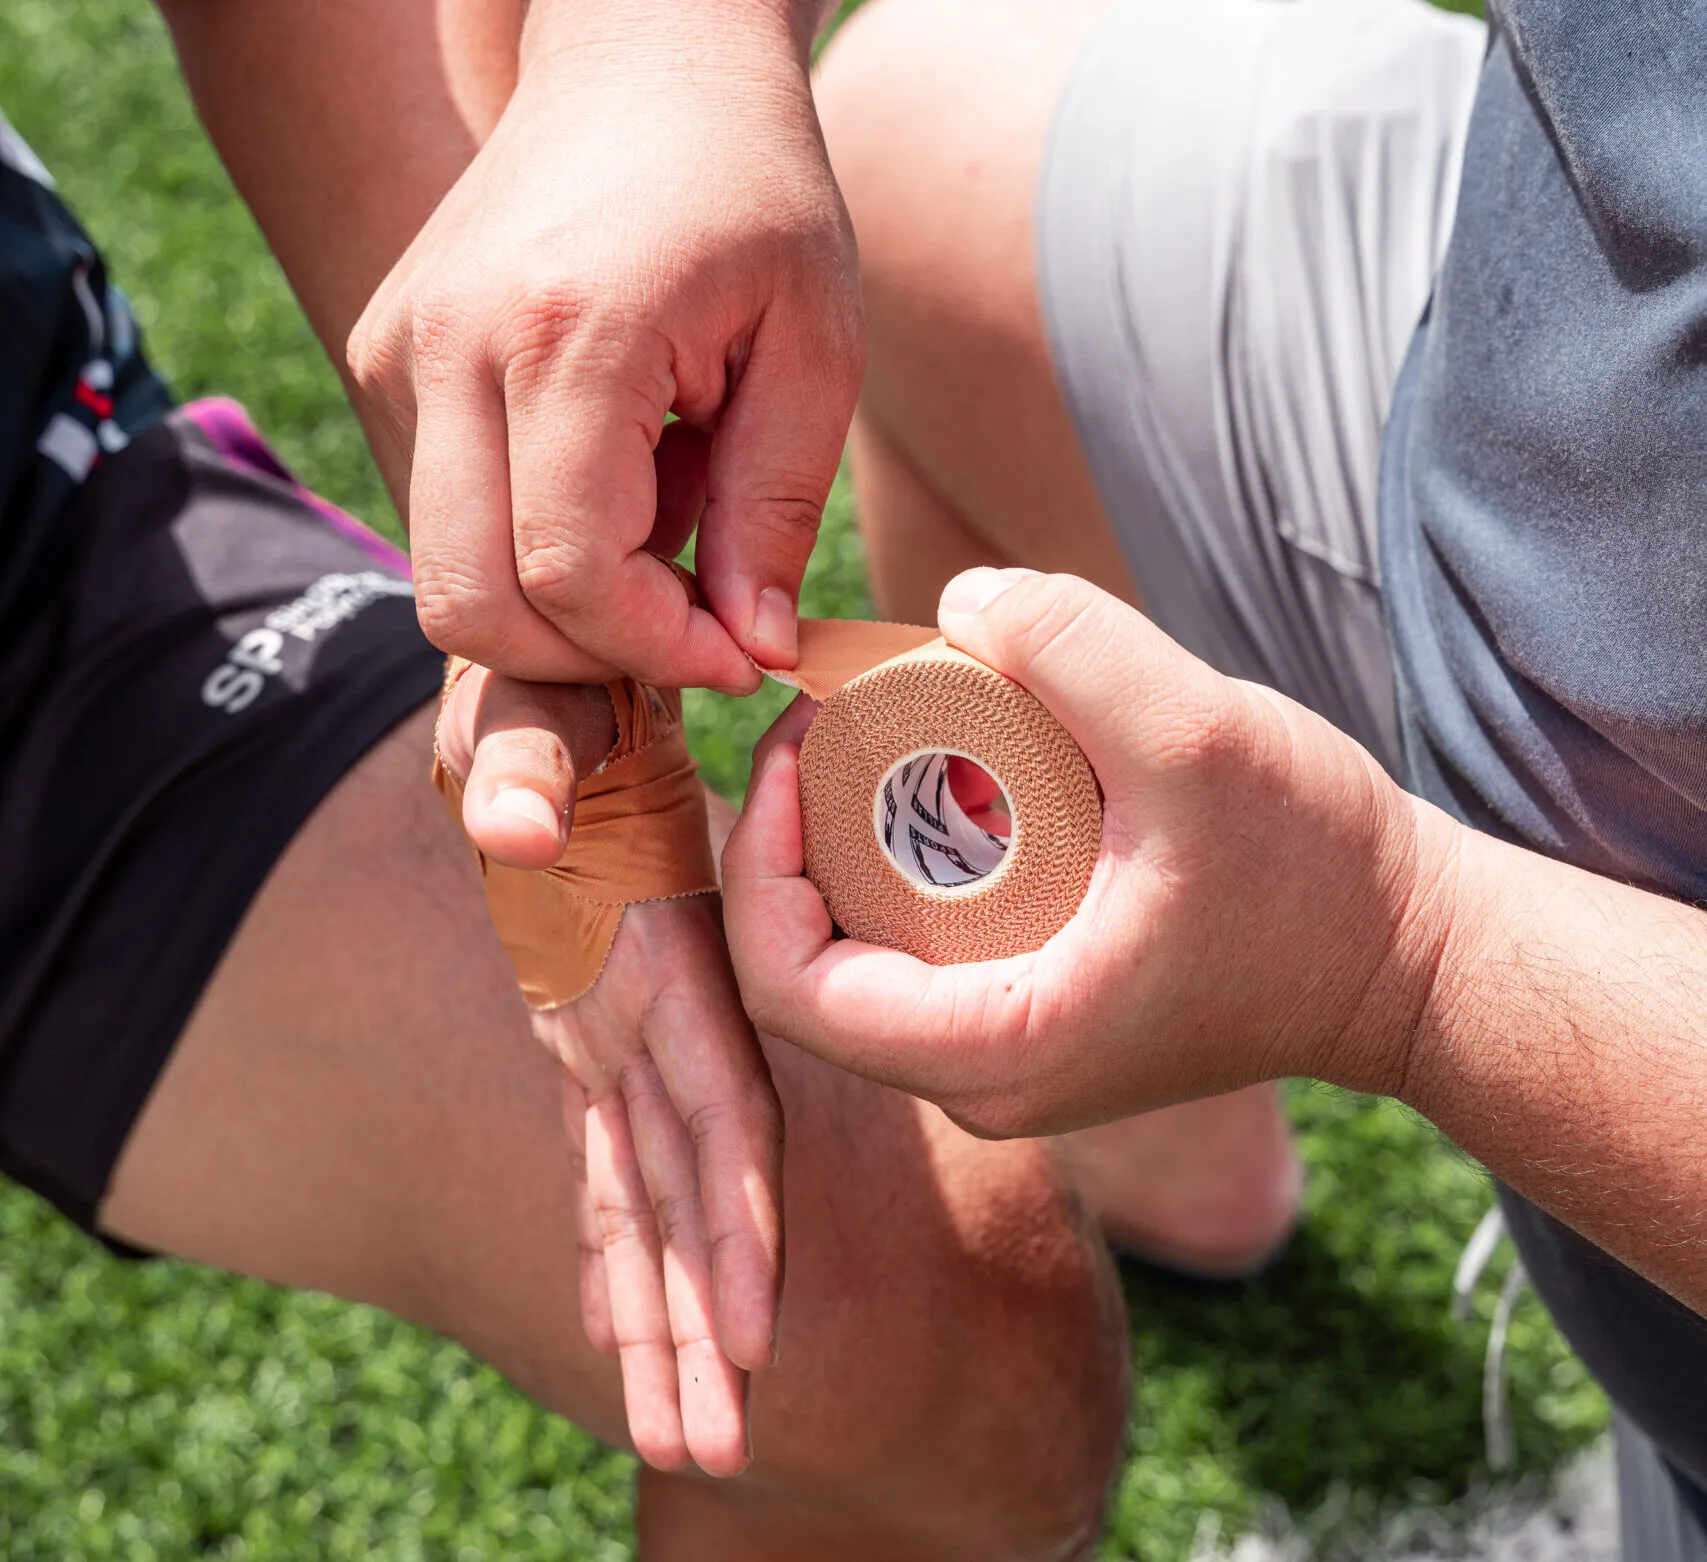
Ankle injuries are the single most common injury in rugby. The lateral ankle — the outside — is almost always the site, because the mechanism of injury is inversion: the foot rolls inward and the lateral ligaments take the strain. Zinc oxide sports tape is the standard tool for restricting this movement.
The closed basketweave is the most widely used zinc oxide ankle taping technique in sport. It provides firm restriction against inversion while preserving enough dorsiflexion to run and change direction.
Materials: 38mm zinc oxide tape, foam pre-wrap, heel and lace pads/ pre wrap or hypo fix-it tape (optional).
Ankle taping is one area where technique genuinely matters. Done wrong, it can actually increase the risk of certain injuries by restricting motion unevenly. How to Sports Tape an Ankle has a step-by-step breakdown worth working through before your next session. If you’ve been taping your own ankles for a while, 5 Common Ankle Taping Mistakes is worth reading — most club players are making at least one of them.
Not all zinc oxide sports tape is the same. The main variables are width, adhesive strength, and backing material.
Width: 38mm is the standard for ankle taping. 25mm works better for fingers, thumbs, and general hand taping. Having both sizes in your kit is worth it. 50mm for larger joints like knees and shoulders.
Adhesive strength: Higher adhesive strength means better hold but more skin irritation on removal. If you’re taping daily or over pre-wrap, this is less of a concern. If you’re going skin-direct and taping frequently, a medium-adhesion tape is easier to manage long-term.
Backing material: Cotton-backed zinc oxide tape tears more cleanly and breathes better than synthetic alternatives. For rugby, where you’re generating heat and sweat throughout a match, Rayon Material is the better choice.
For a detailed look at how pro-grade rigid tape compares to standard rigid tape across these variables, Pro Rigid vs. Standard Rigid: Which Tape Do You Actually Need? gives a direct comparison built for athletes making buying decisions.
Zinc oxide tape is a simple tool, but getting the most out of it takes more than just wrapping something tightly and hoping for the best. The technique matters. Skin preparation matters. Choosing the right width for the job matters.
For hands and fingers, buddy taping and hyperextension strips give you protection without sacrificing grip. and for thumbs, a well-built anchor and support system keeps the lateral ligament guarded through contact. For ankles, a proper closed basketweave is worth taking the time to learn correctly — your lateral ligaments will thank you at the end of a long season.
If you’re looking to stock up on zinc oxide tape for training or match day, Pillar Sports carries a range of rigid sports tape options built for contact sport. Browse the full sports tape range at pillarsports.com and find the right option for your position and injury history.
If you’re a club manager or physio sourcing tape for a squad, we work directly with clubs and teams. Find out more about Pillar Sports partnerships.
zinc oxide tape rugby how to tape a thumb for rugby ankle taping for rugby zinc oxide sports tape uk rigid sports tape for rugby how to buddy tape a finger rugby zinc oxide tape for ankles best sports tape for rugby players

Join 1,000+ athletes already training with Pillar Sports tape.
No spam. Unsubscribe anytime.